Evening Trout Fishing With Phillippa Hake
We joined Phillippa Hake for an evening fishing session! Keep reading to see the winning fly!
The Evening Rise.. or Not!
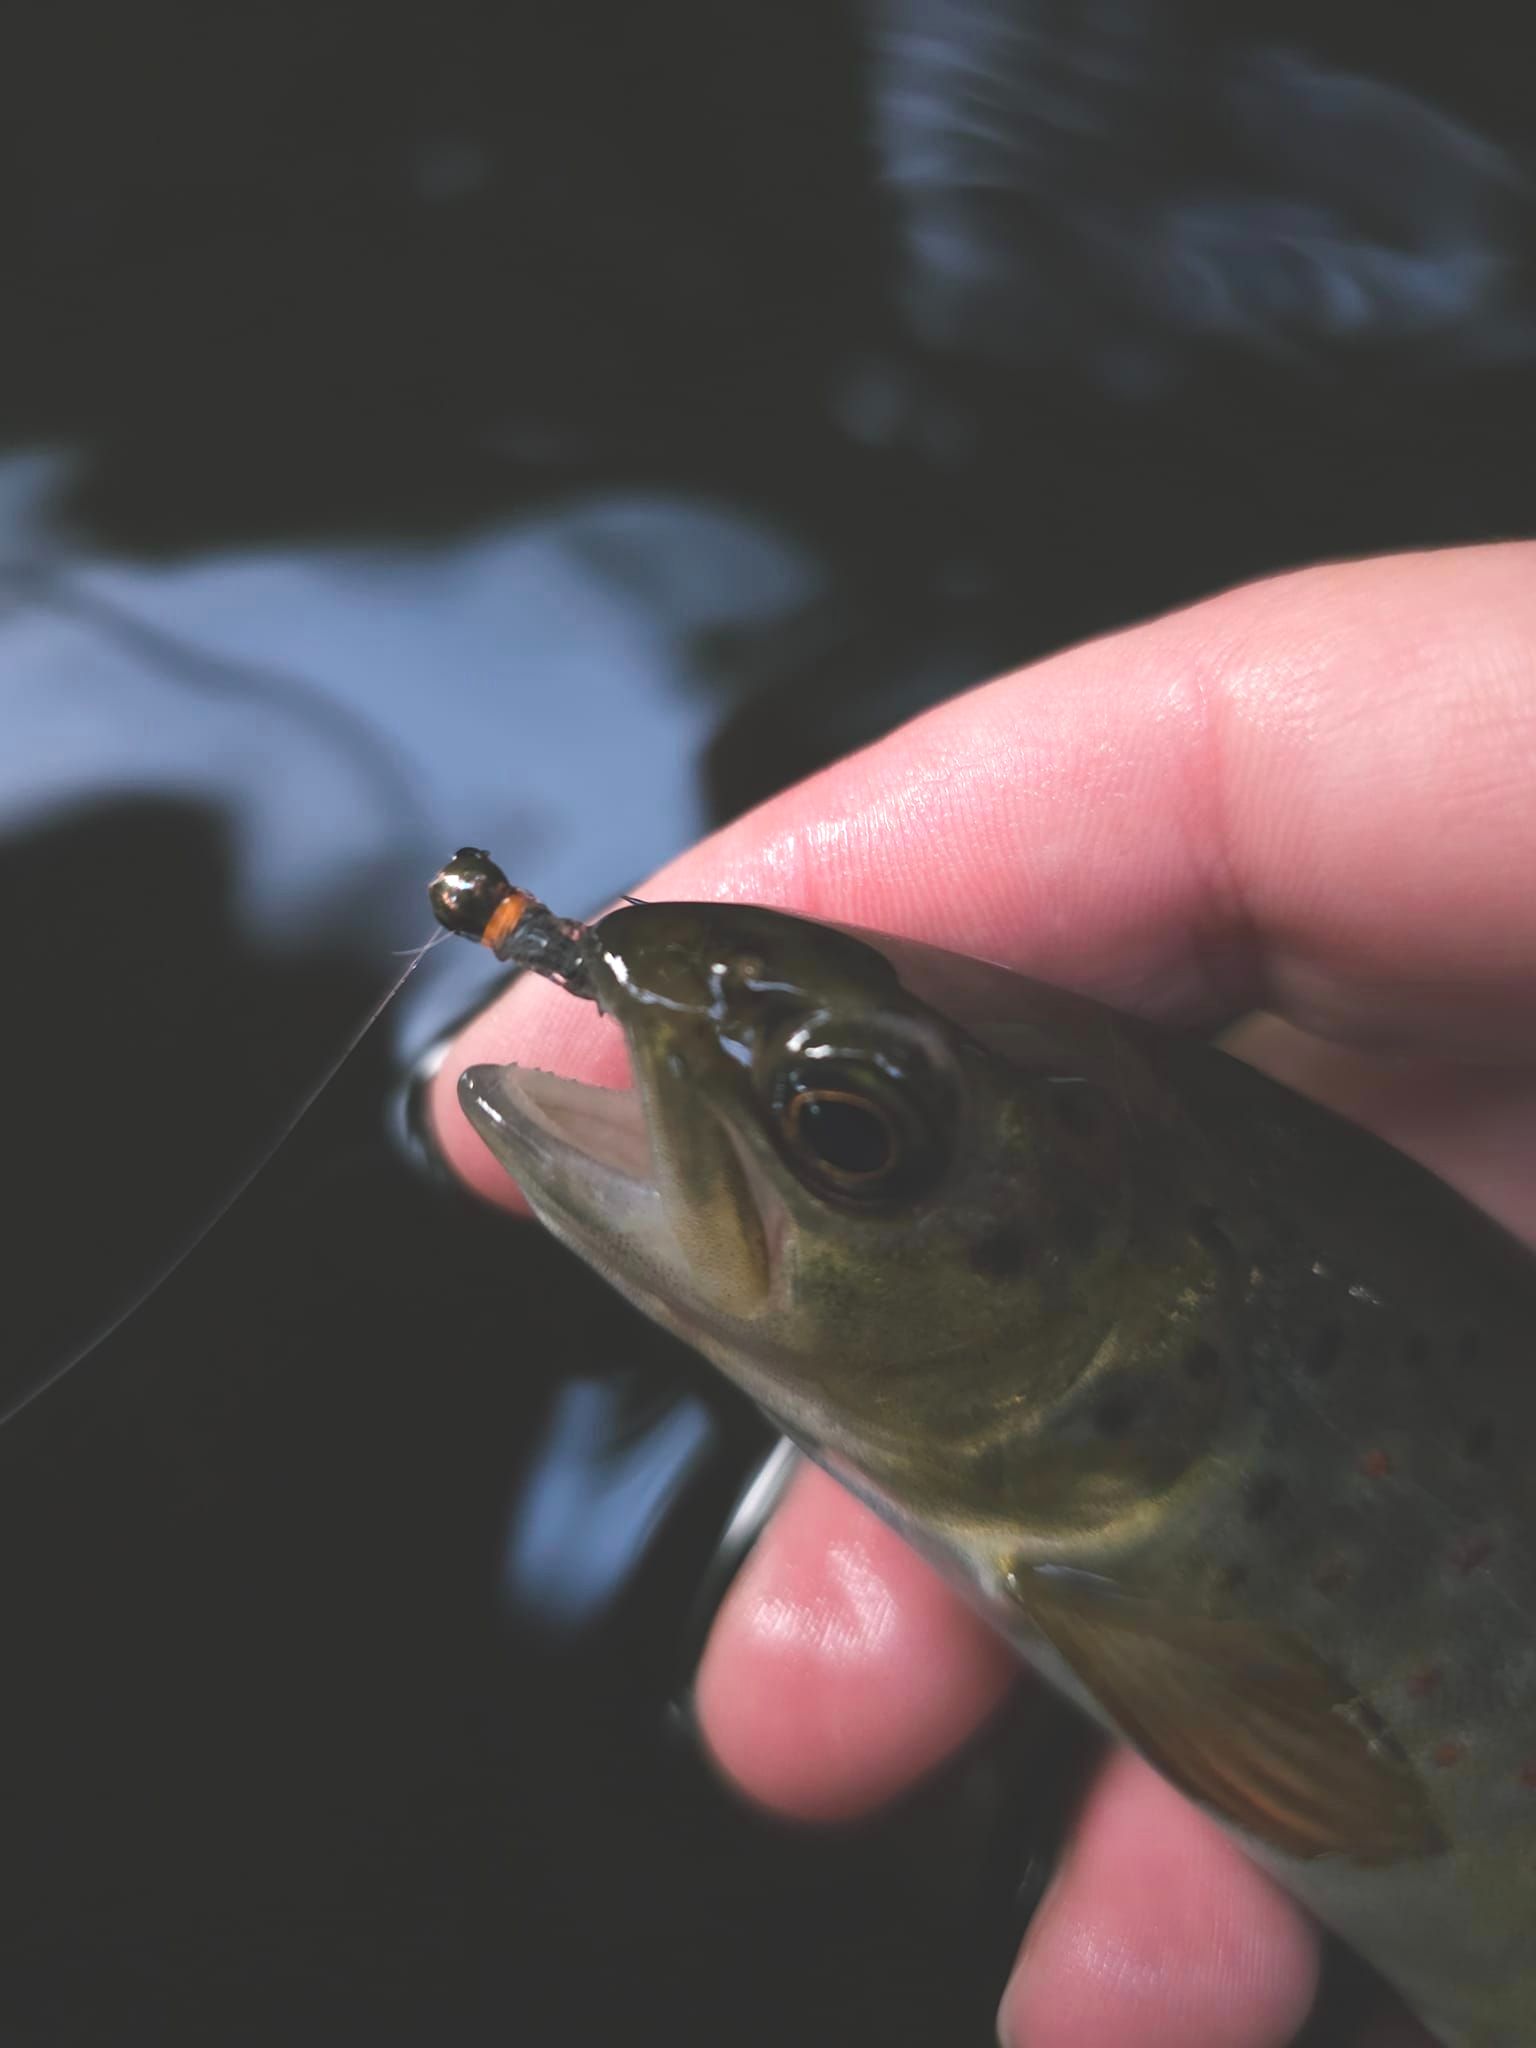
The weather certainly doesn’t know what do at the moment! Last weeks mid 20’s temps have disappeared and it’s now back down to a chilly 12 degrees! The fishing however has still been ok! I headed out to my local river one evening after work recently, I was greeted with some good looking rising fish, after watching and making a few casts at them they weren’t to be! A quick move downstream to some faster water I grabbed my 10ft #3 nymphing rod and worked my nymphs through some of the deeper runs.
Product In Focus - Nymph Maniac 10ft 3wt
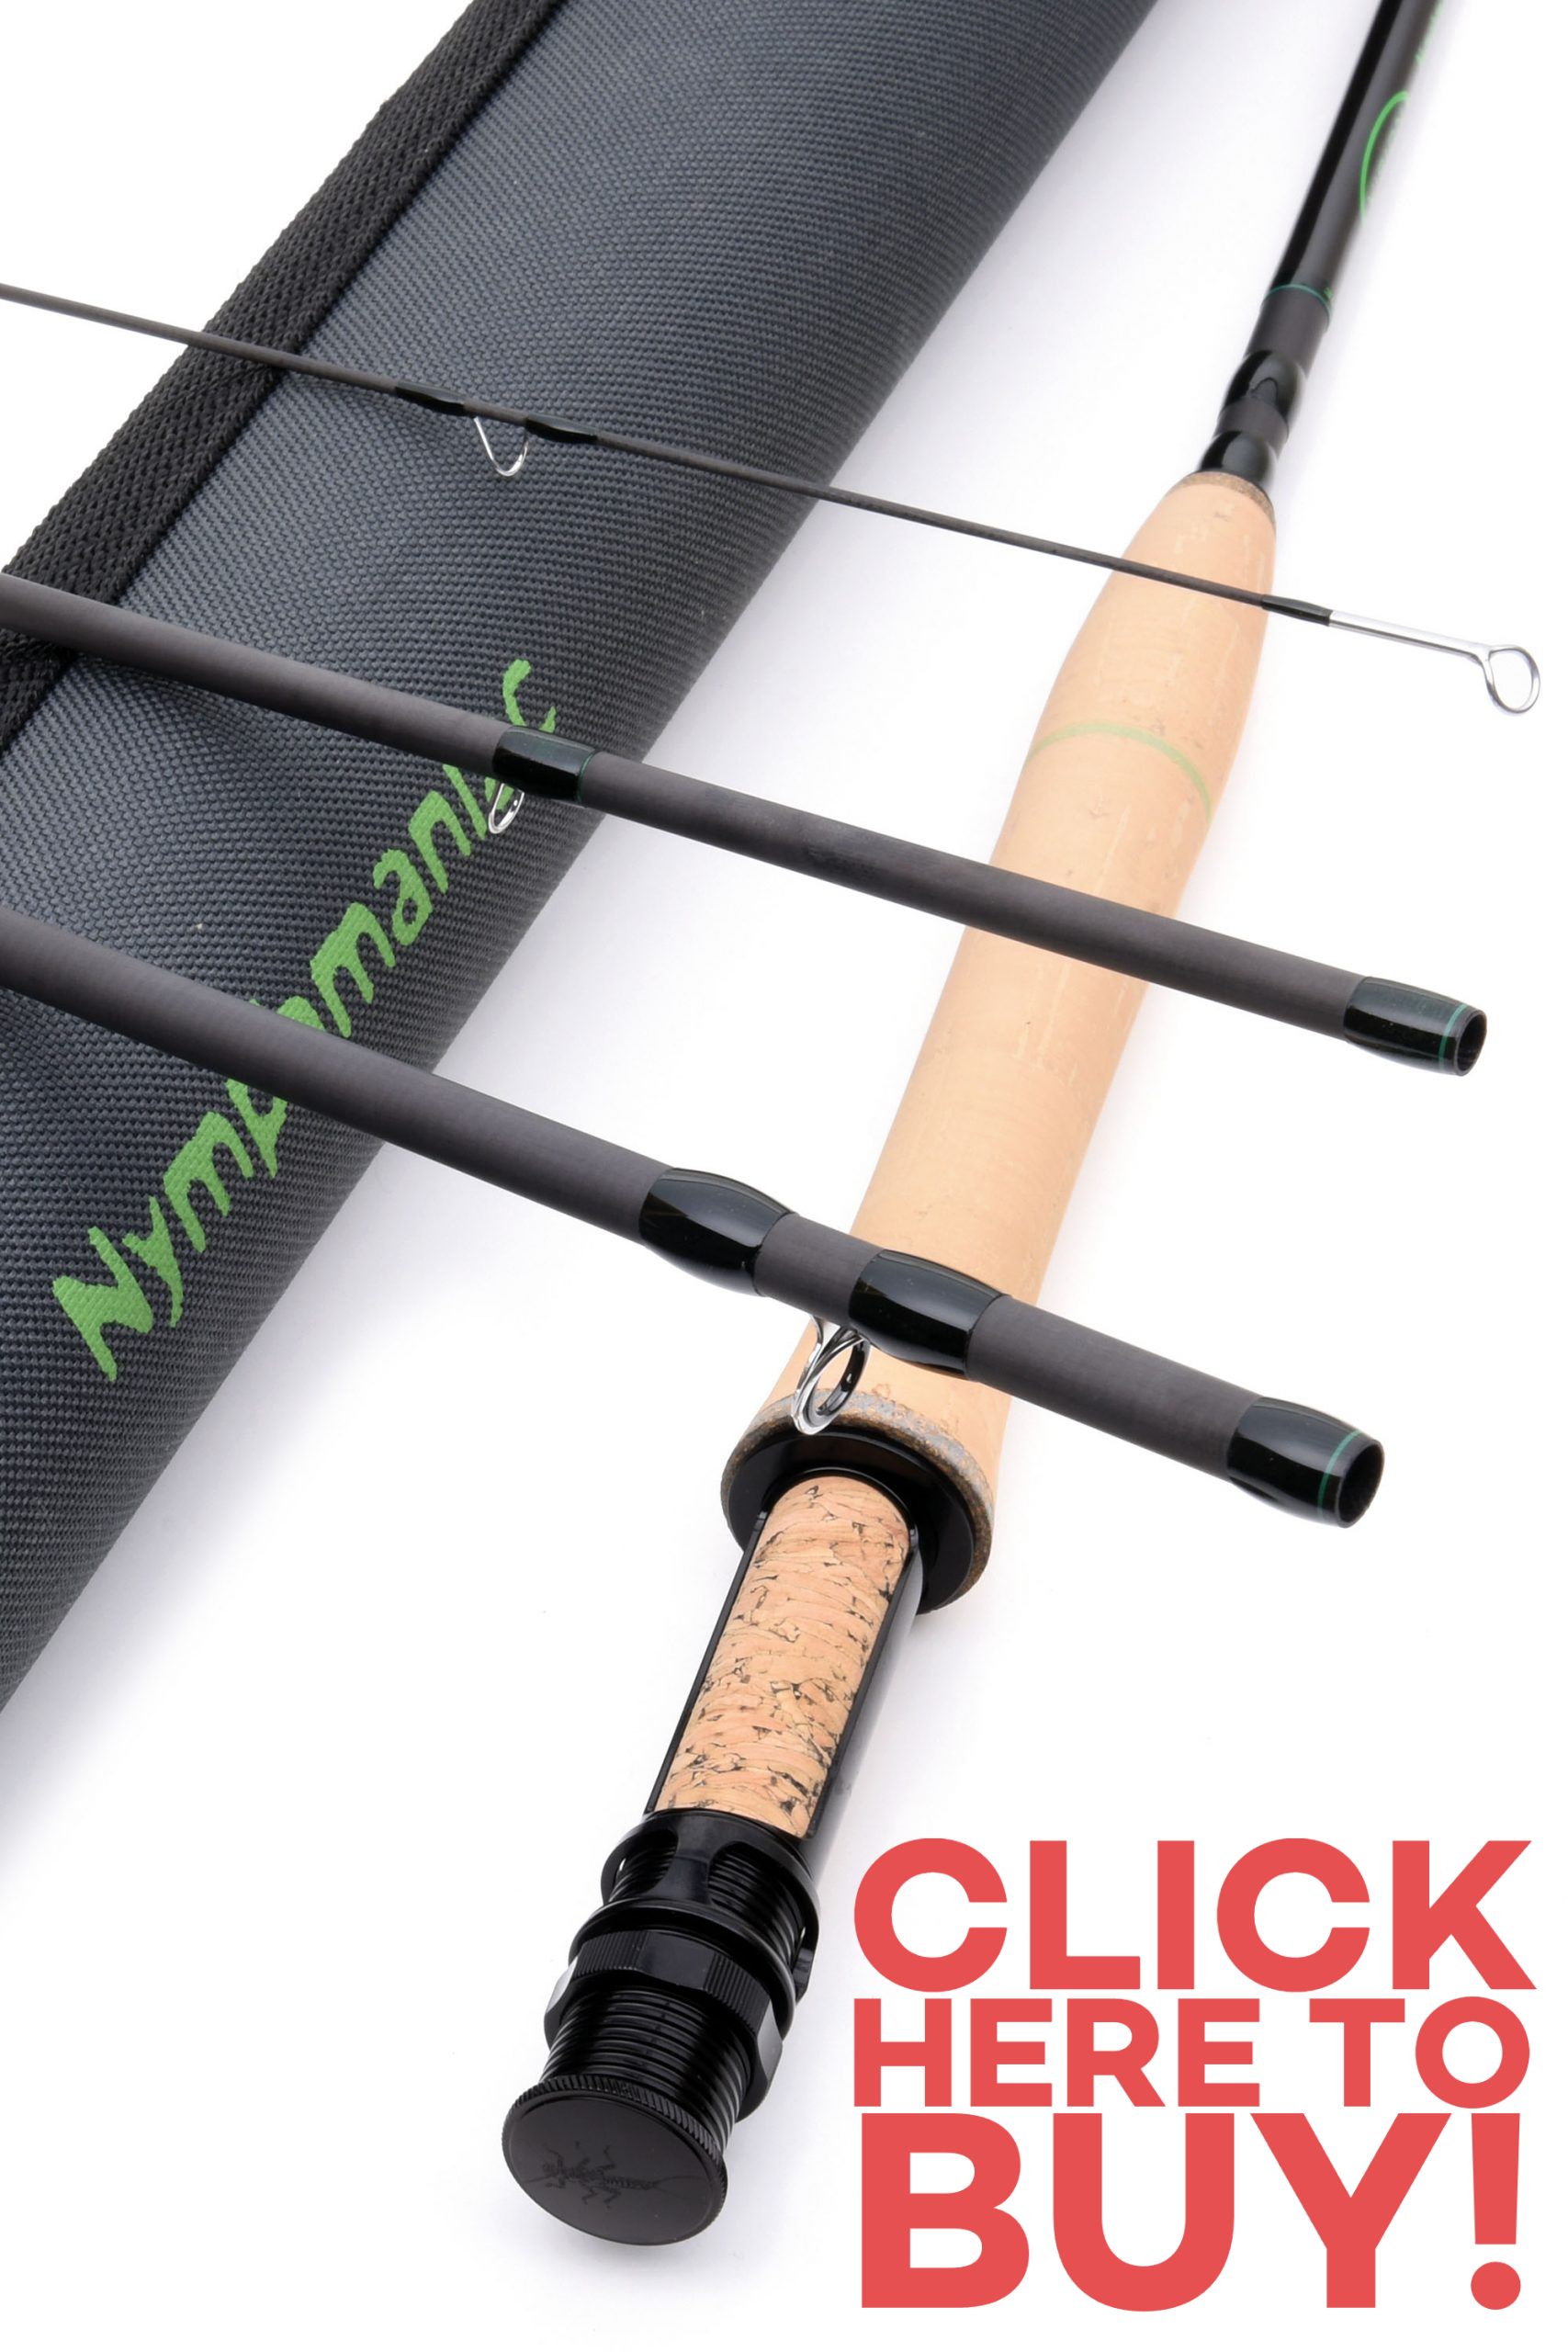

Nymphmaniac rods have been designed together with some of the best competition anglers in Europe. Nymphmaniac meets the requirements of the most demanding anglers within a reasonable price range, These have been designed to be as light and as easy to handle as possible. The blank dampens immediately after stopping when casting which is extremely important for sustaining proper contact and a feel for light nymphs. Buy Vision Nymphmaniac 10ft #3 Here!
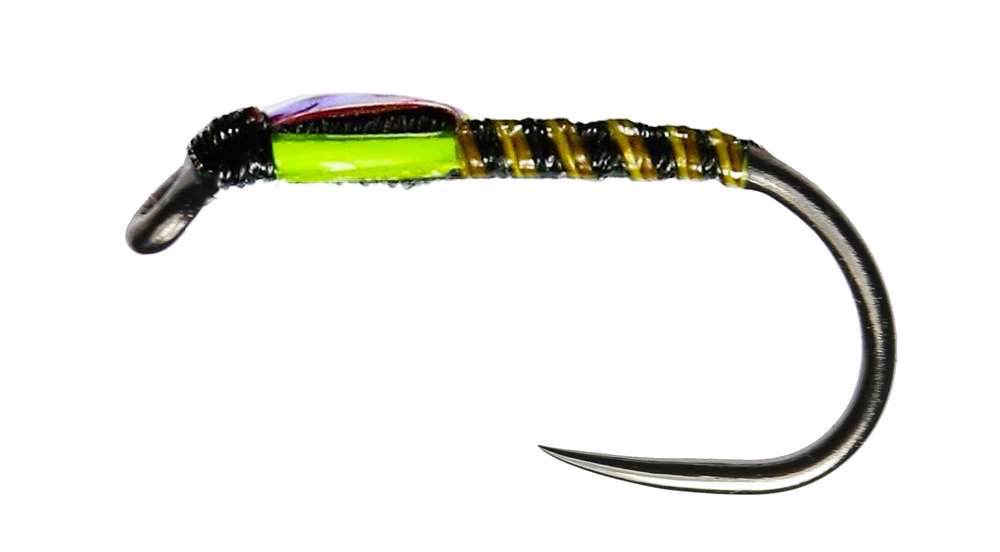
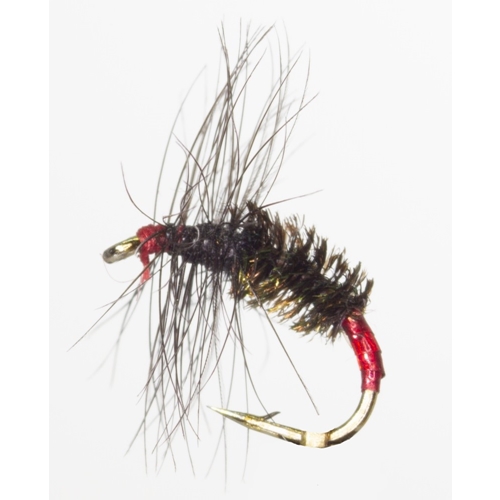
My choice of fly was a very, very simple tie! A sort of cased caddis nymph tied with only 3 tying materials! The beauty is you can play around with different colours too!
Hook - Jig size 14 - 18
Thread - Semperfli Hot Orange 12/0
Bead - Slotted Copper Bead
Body - Semperfli Dirty Bug Yarn Caddis Gray
As the river was pretty low I kept my cast to just 1 fly. Using a euro nymph set up, casting my deadly nymph upstream and feeling for any kind of knock or bite as it tumbled it’s way down stream,
Tie It!
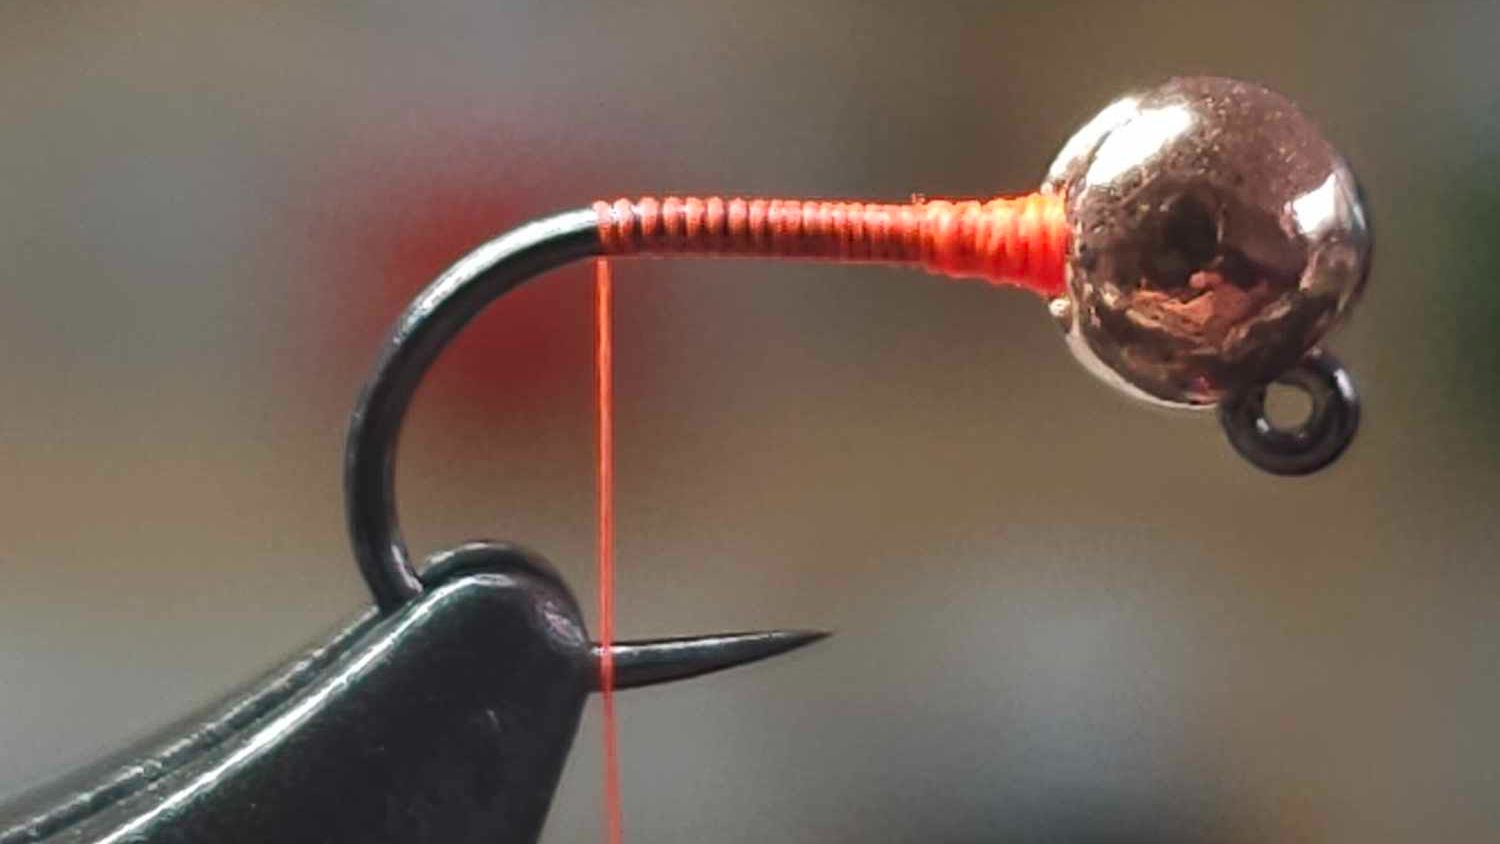
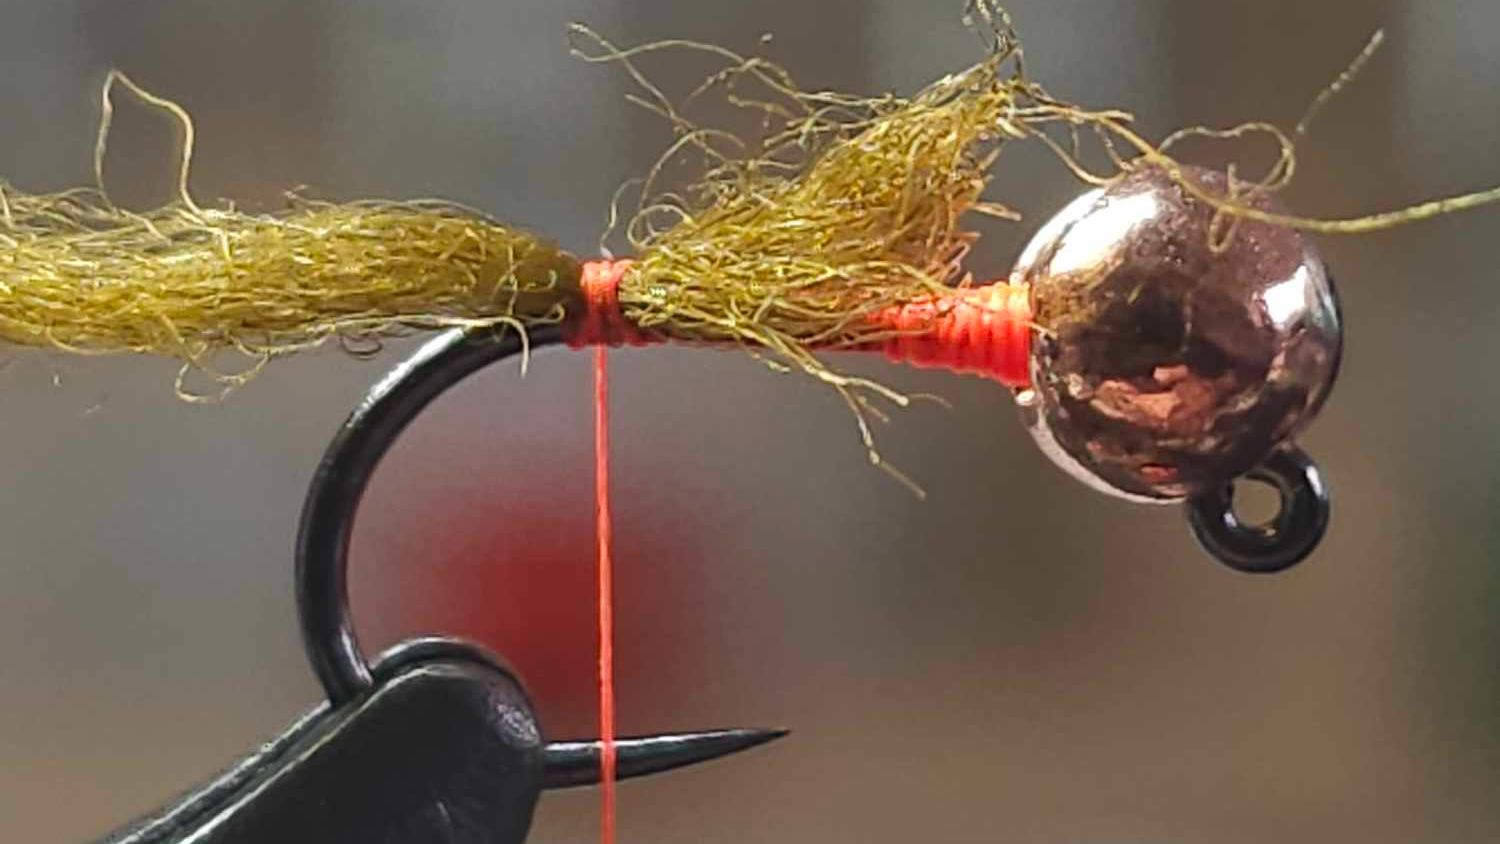
Step 1 - Mount the bead on the hook and start the thread just behind
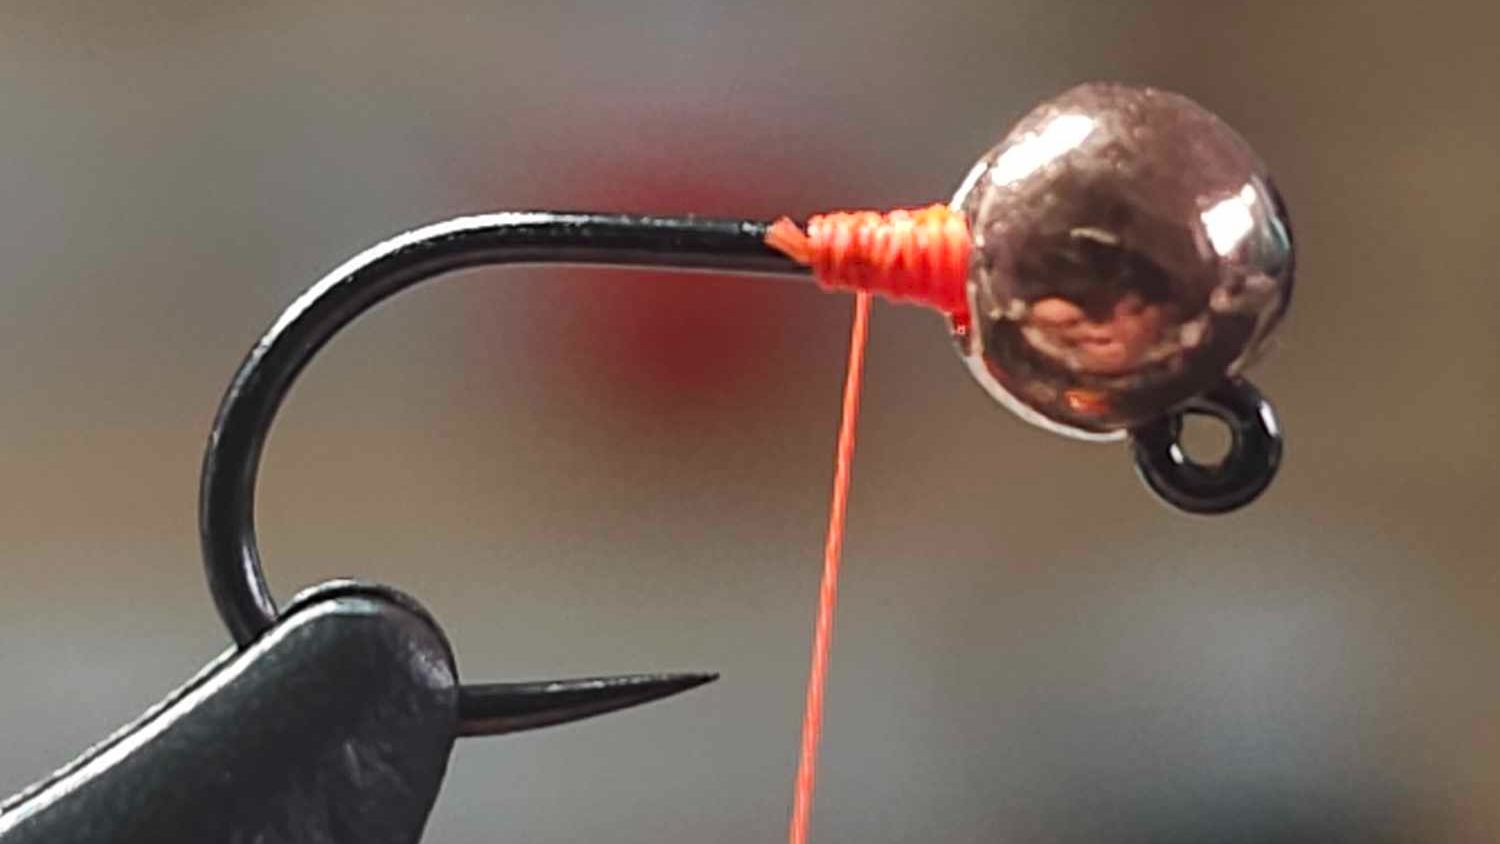
Step 2 - Wind the thread to secure the bead in place so it doesn’t move.
Step 3 - Tie in a length of Dirty Bug Yarn - There are many colours to choose from!
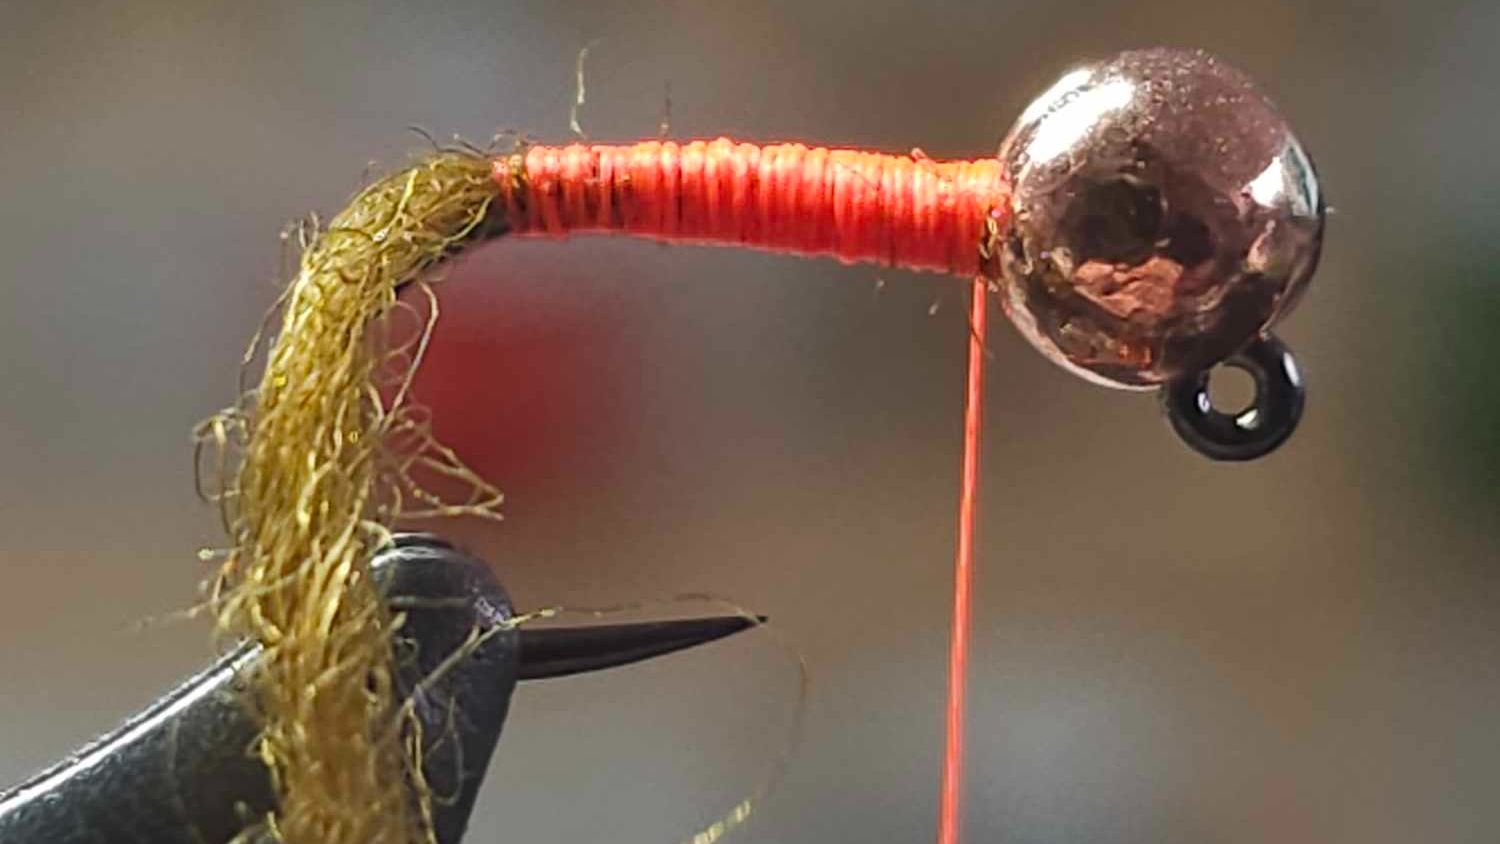
Step 4 - Use your thread to create a taper to the body.
Step 5 - Begin to wrap the Dirty Bug Yarn up the hook, stopping just behind the bead
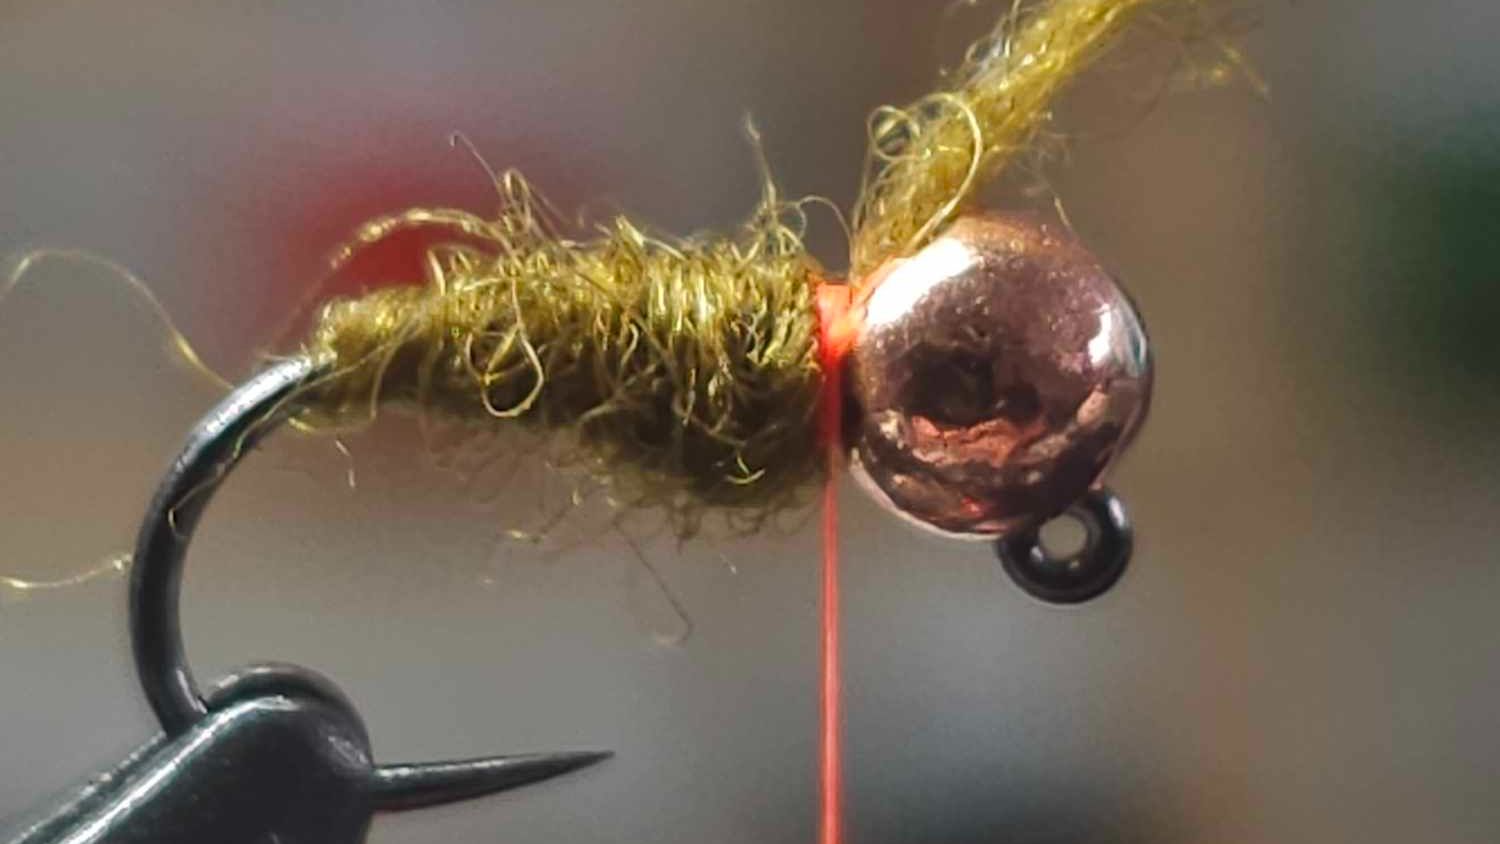 .
.
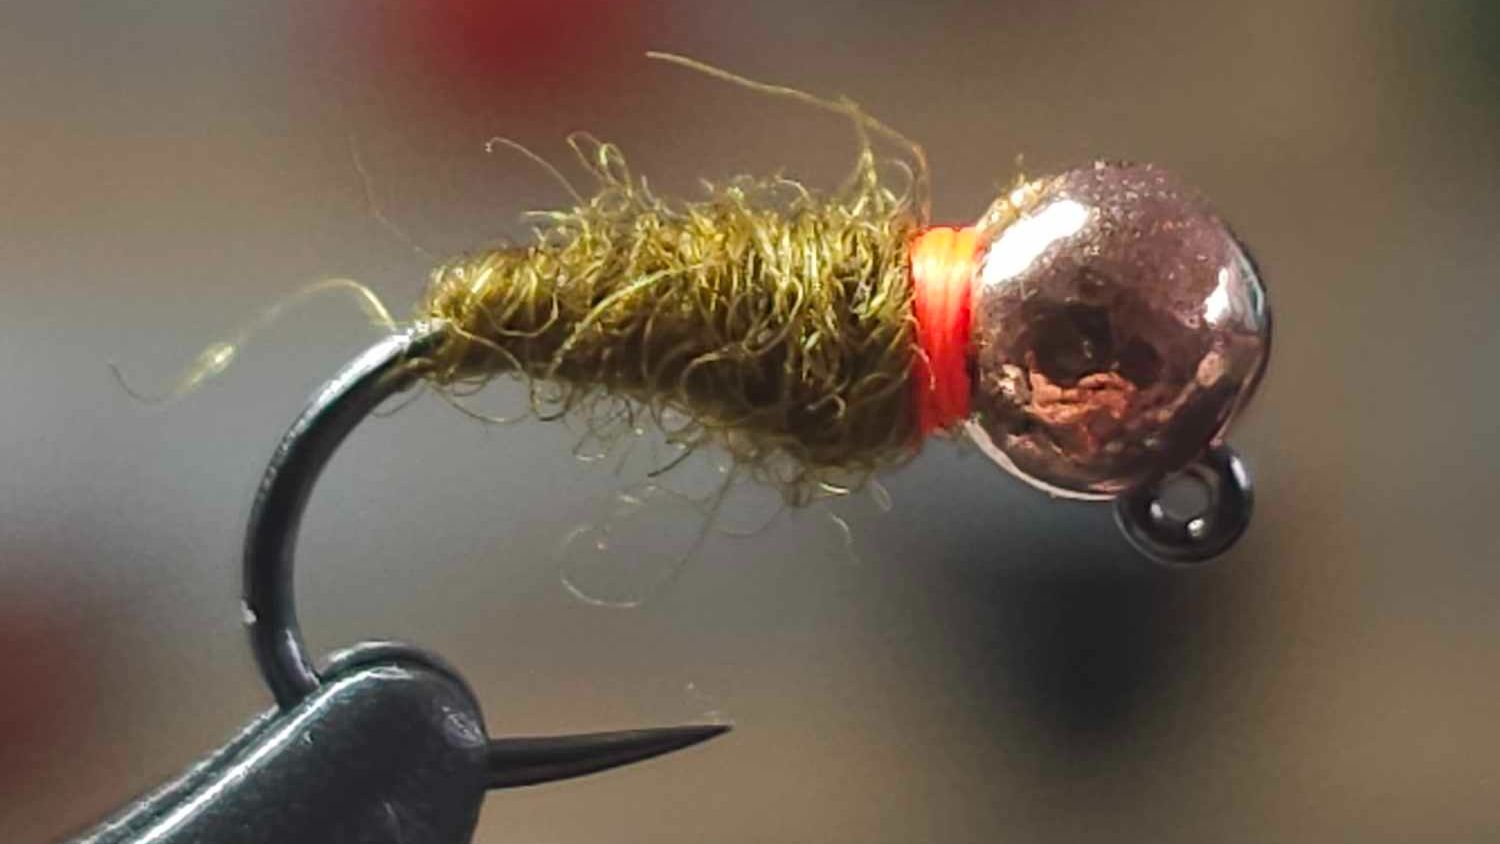
Step 6 - Tie off and create a hot spot with your thread.

Step 7 - Whip finish and add a drop of varnish to secure!


