Killer Grayling Fly
Fly Tying Step By Step - Pink Tag CDC Jig
Phillippa Hake shares this winning gem! As we edge ever closer to the colder months, another trout season passes us by in a flash and leaves some great memories! You can’t help but feel the chill in the air which really, is actually getting me quite excited for some grayling days! Over the last few weeks I’ve been busy whipping up some grayling flies to try this autumn and winter. Keep reading to see my step by step on a little Pink Tag Nymph! Guaranteed to put a few grayling in your net!
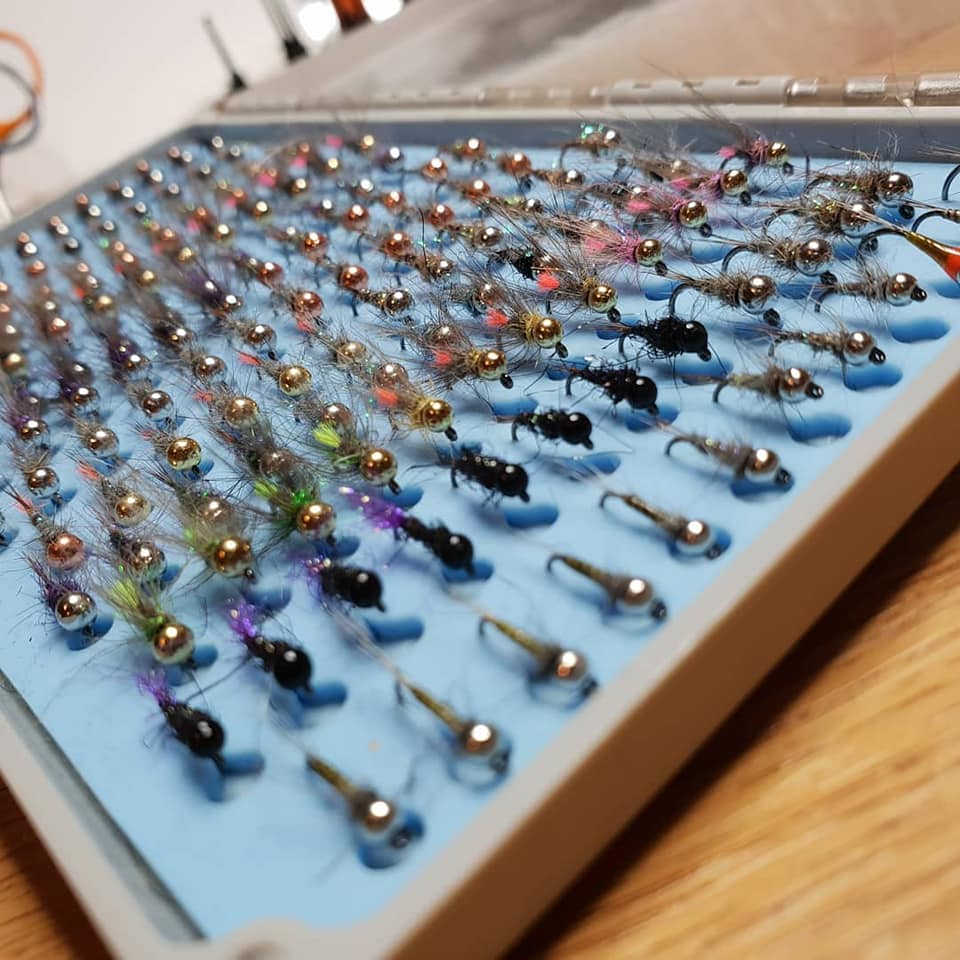
Bead head nymphs, deadly for grayling!
Click Here To Shop All River Bugs!
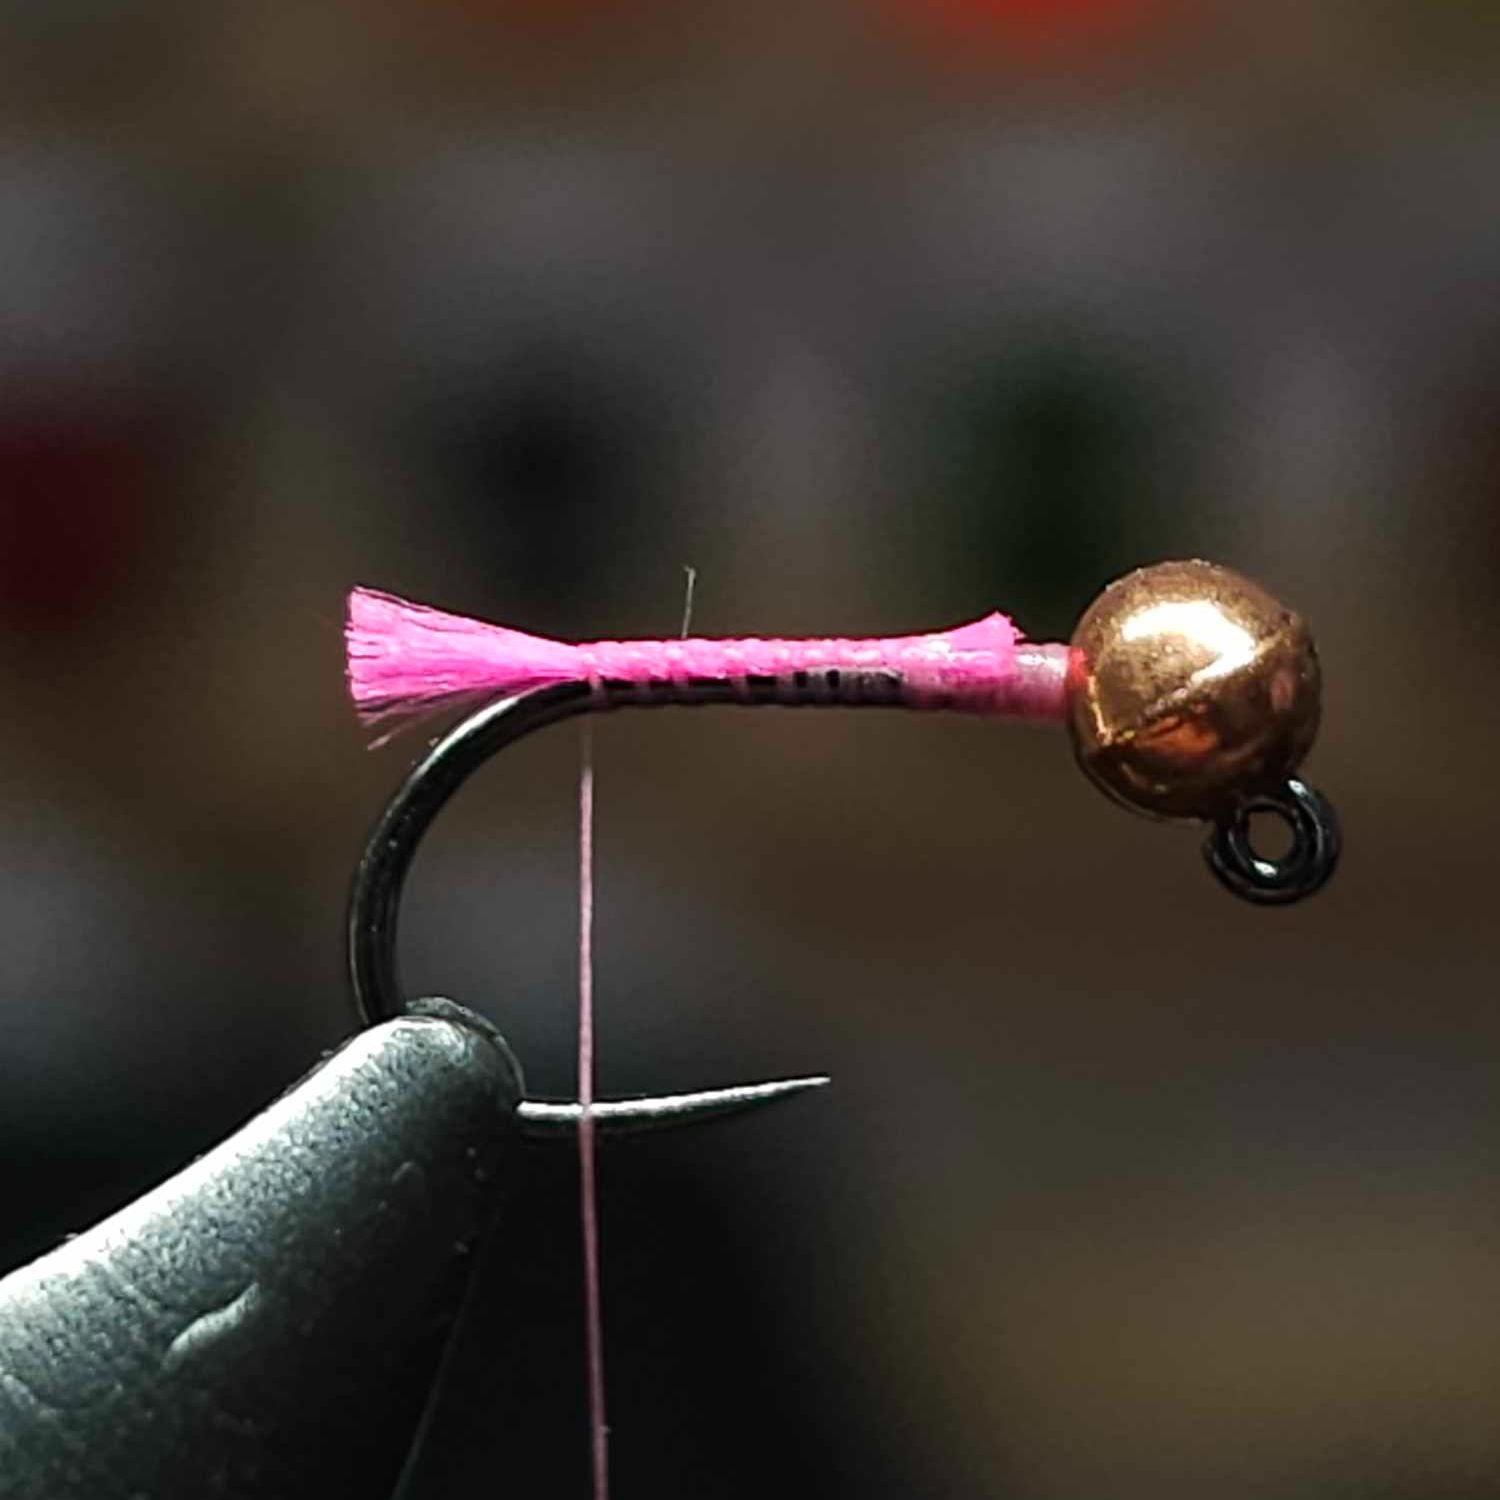
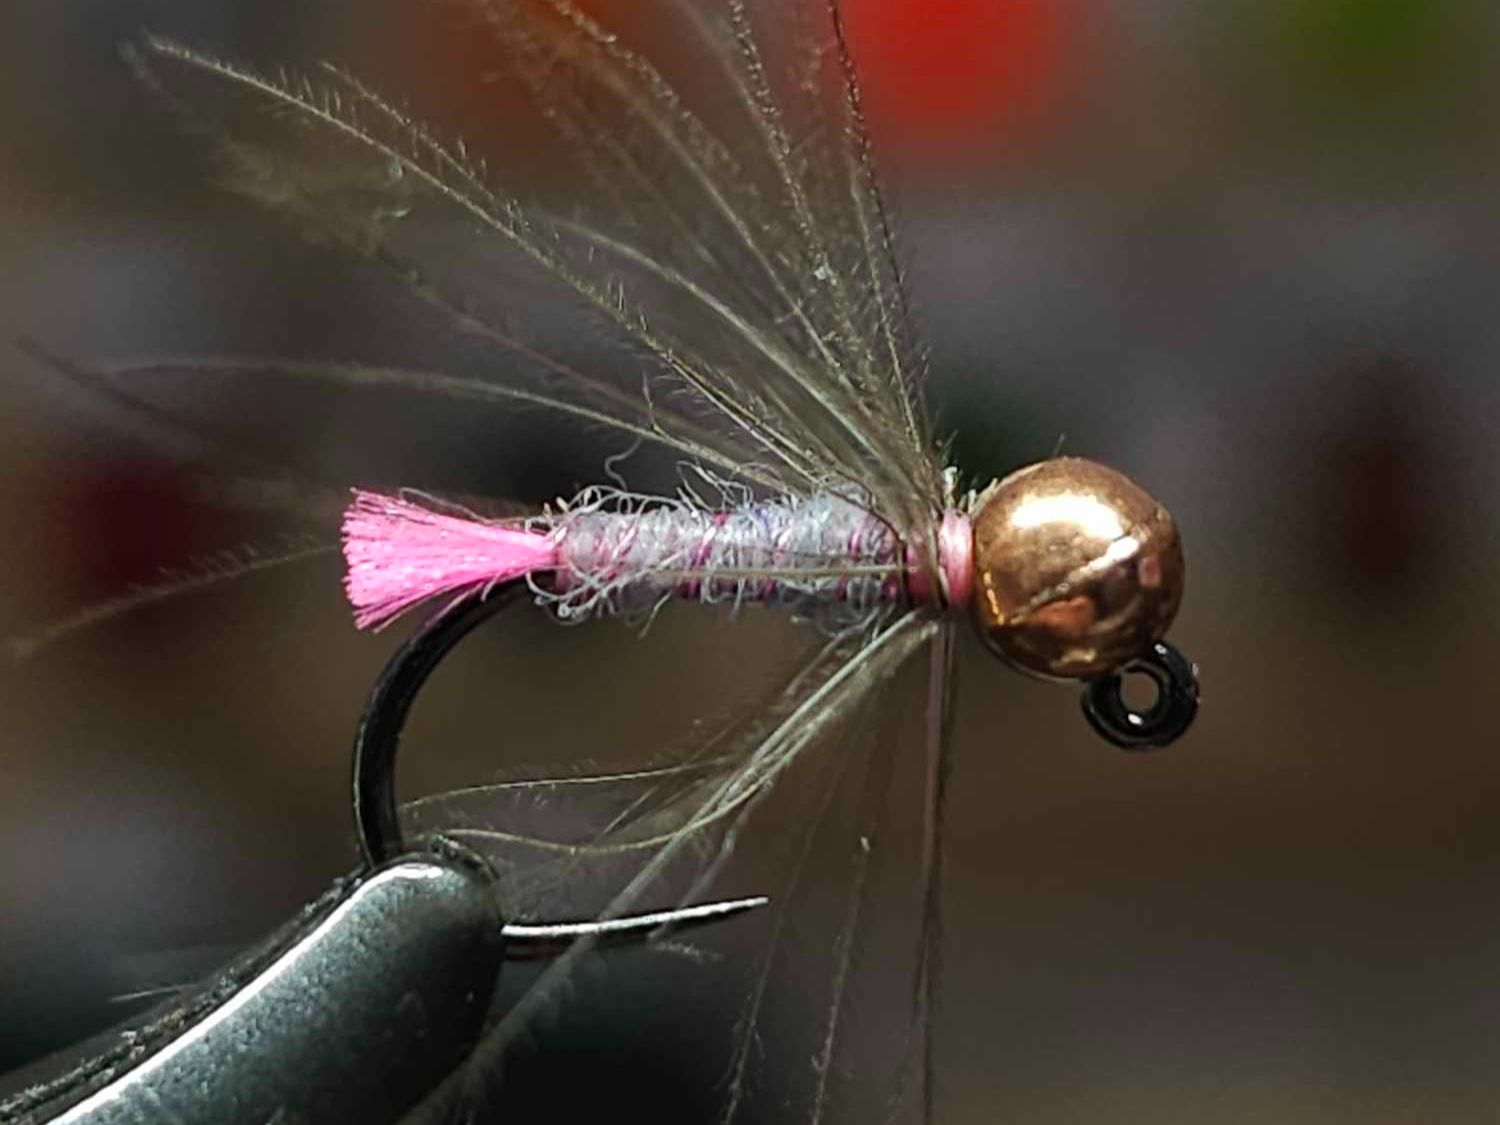
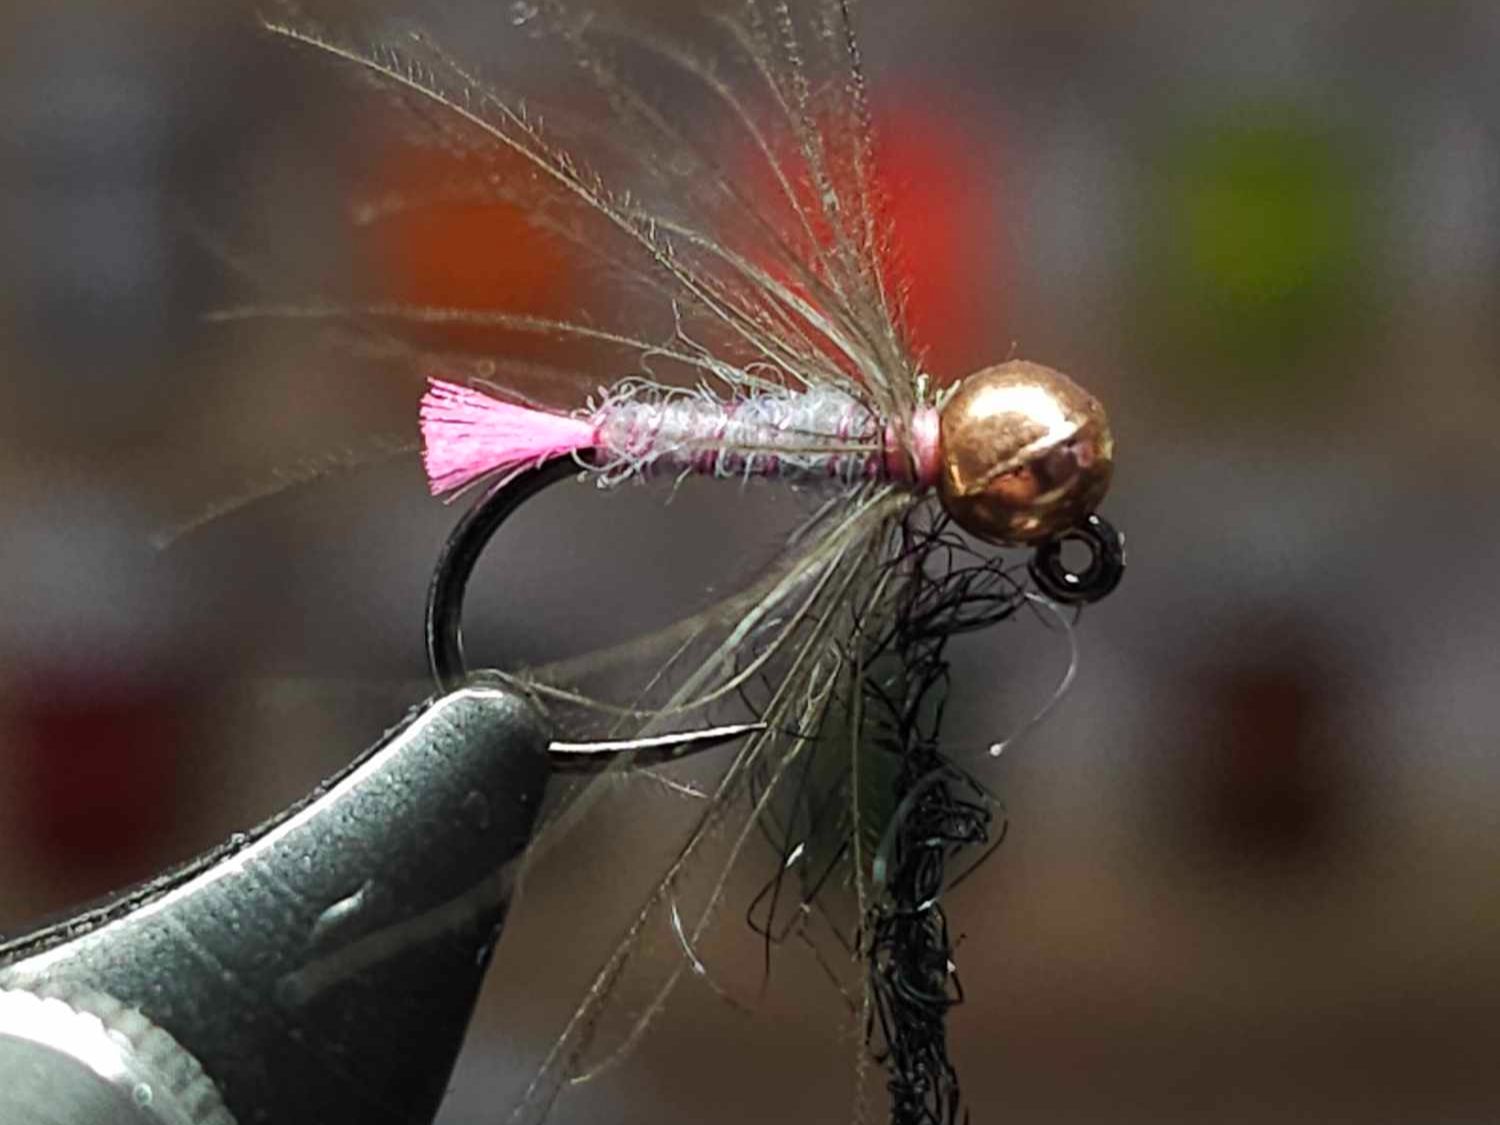
Phillippa’s Pink Tag CDC Jig
.jpeg)
We all know how much grayling are attracted to pink on our flies, for what reason, who knows! They just work! I always have a few rows of tagged flies like this one below in my box, from pink tags to red, yellow and green! They all work on their day and It pays to have a few in your own box!
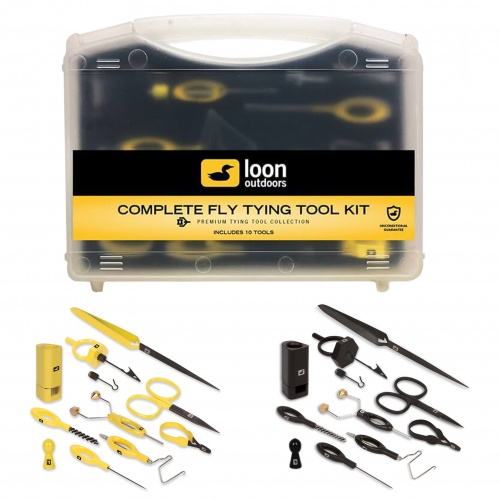
To tie this fly, you’ll need the following
Hook - Jig size 16/14
Bead - Slotted Tungsten Copper 3.0/3.5mm
Thread - Semperfli Classic Waxed Shell Pink
Tag - Glo Brite No 2
Rib - Semperfli 0.1mm Wire Baby Pink
Body - Semperfli Superfine Dubbing Light Dun
Hackle - CDC
Thorax - Semperfli Black Ice Dubbing
Shop All Fly Tying Materials Here!
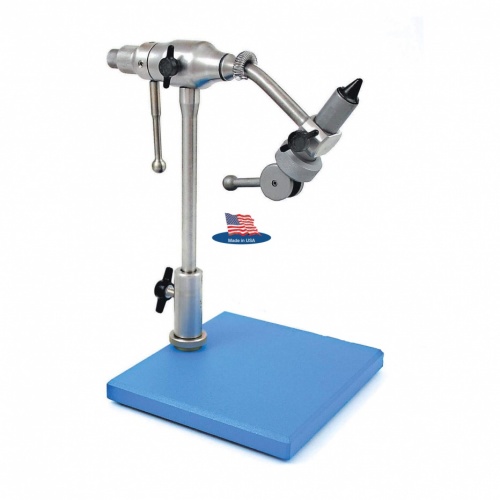
Step 1
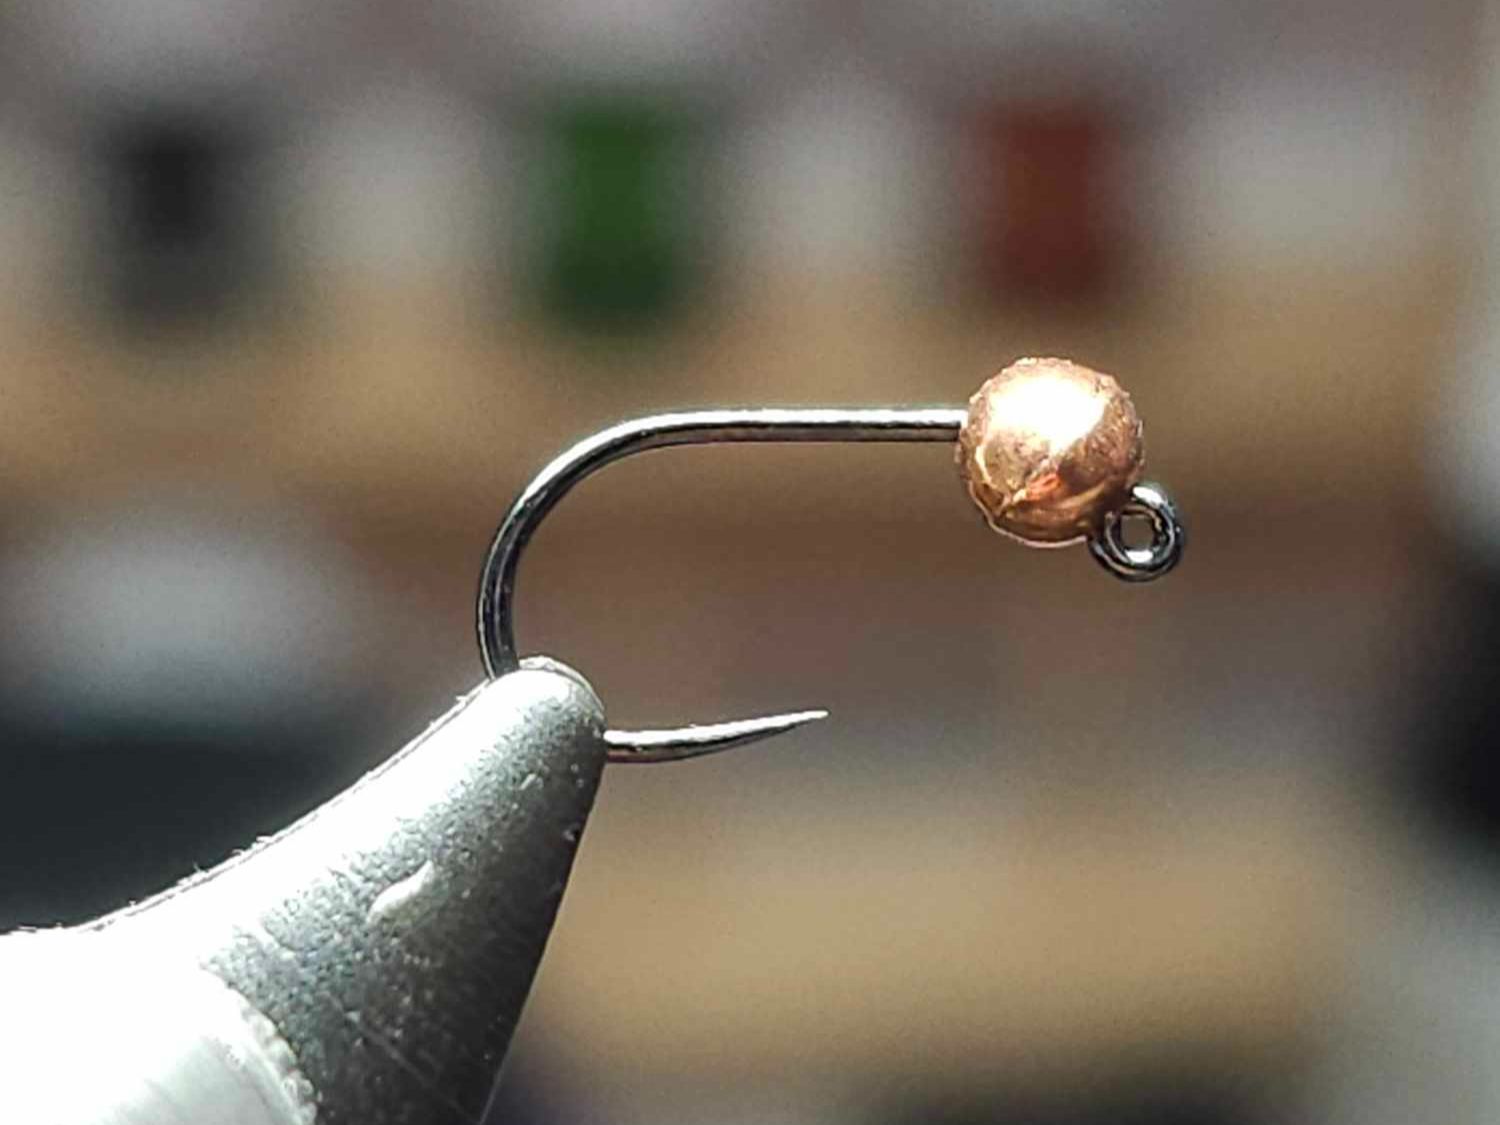
Load your hook into the vice with the bead positioned.
Step 2
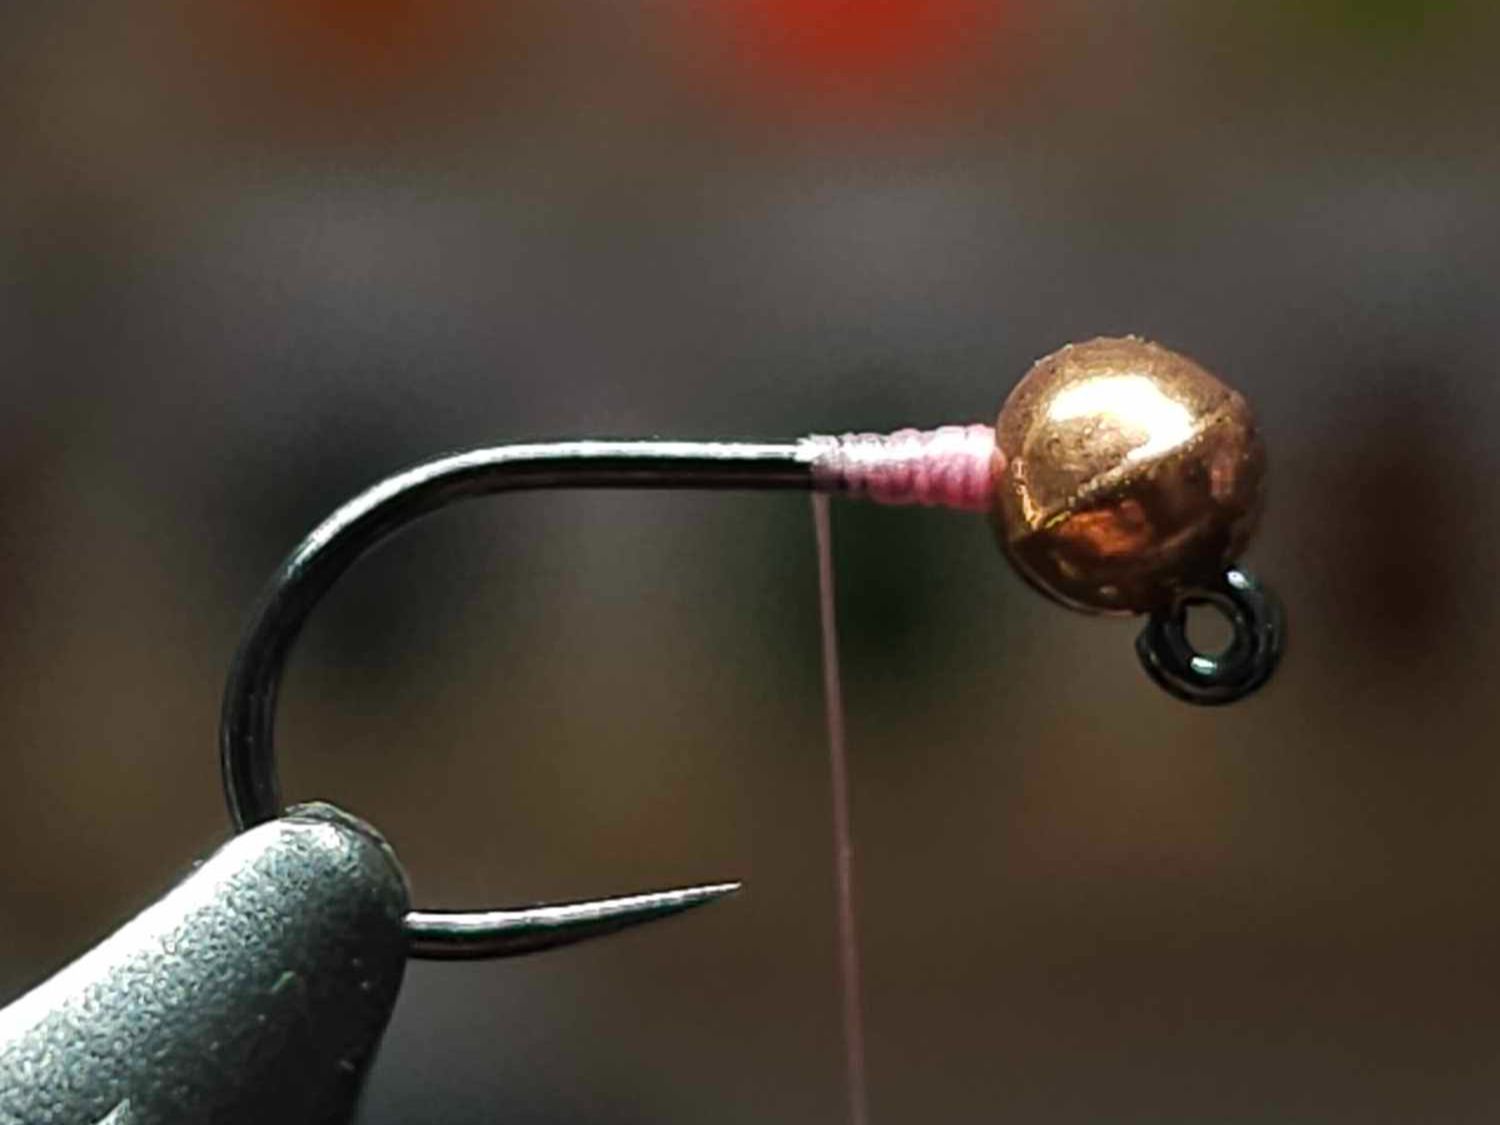
Start your thread behind the eye and secure the bead in place so It doesn’t move.
Step 3
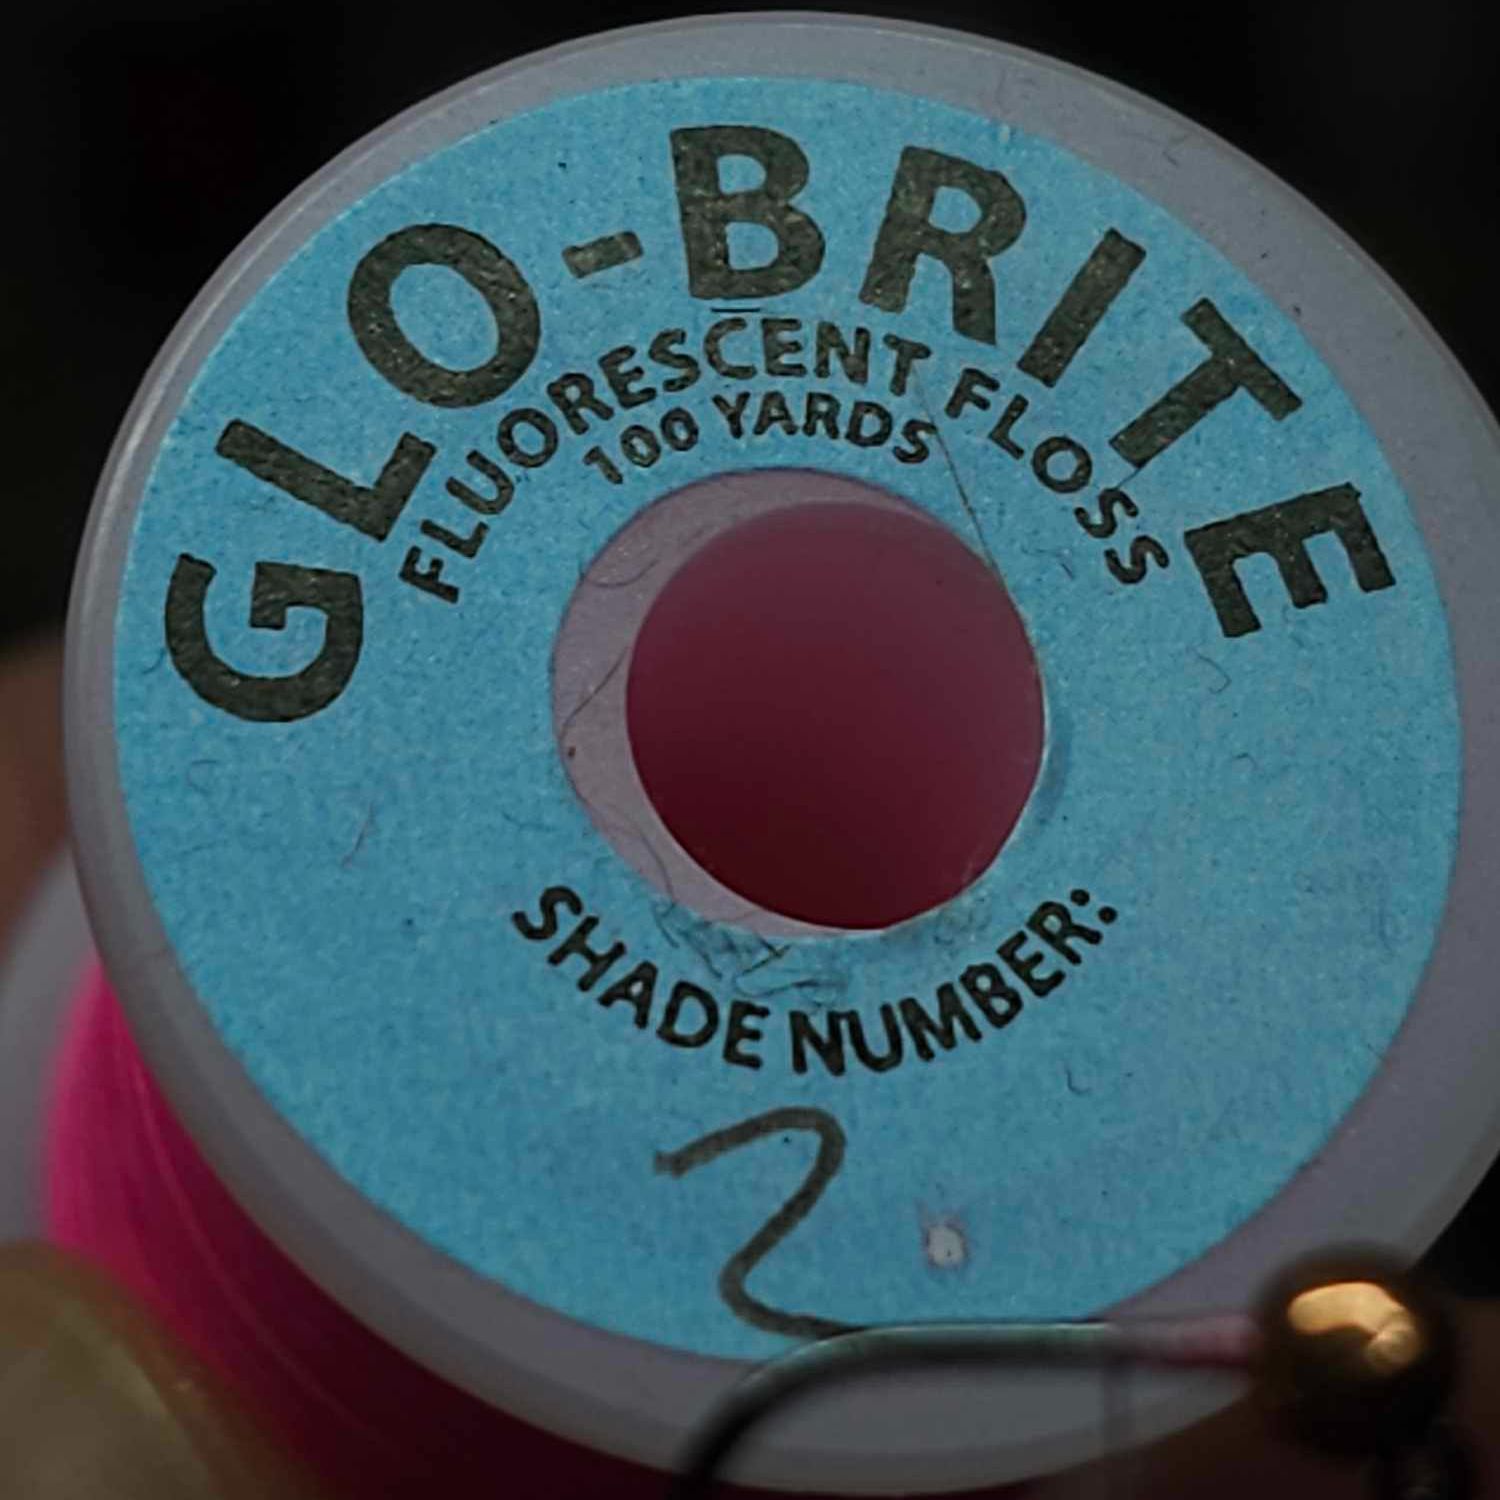
Take a long strand of Glo Brite and cut so it is into 4 sections.
Step 4
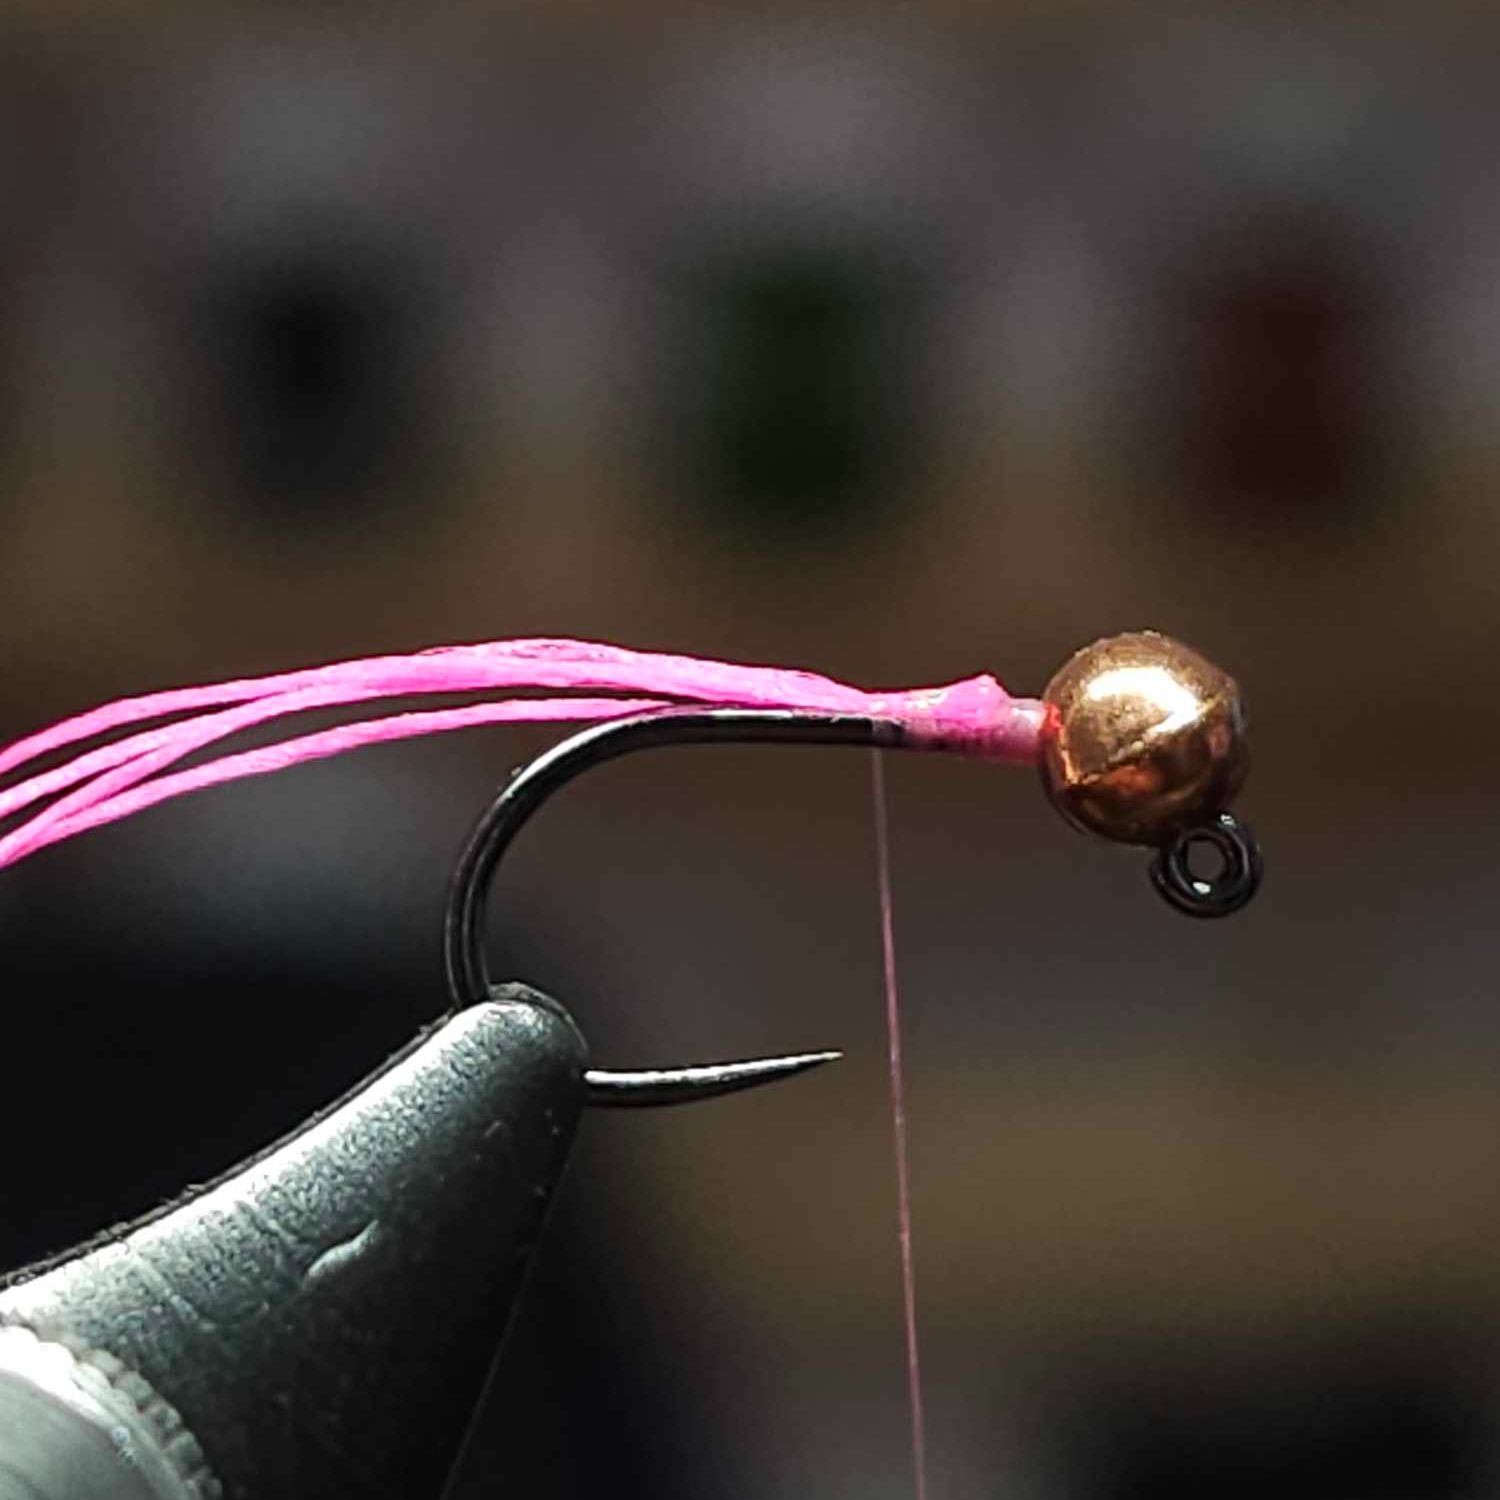
Tie in and take secure thread wraps to the bend of the hook. Be sure to keep the material on top of the hook shank.
Step 5
With your scissors chop the tag to around the same length as shown above.
Step 6
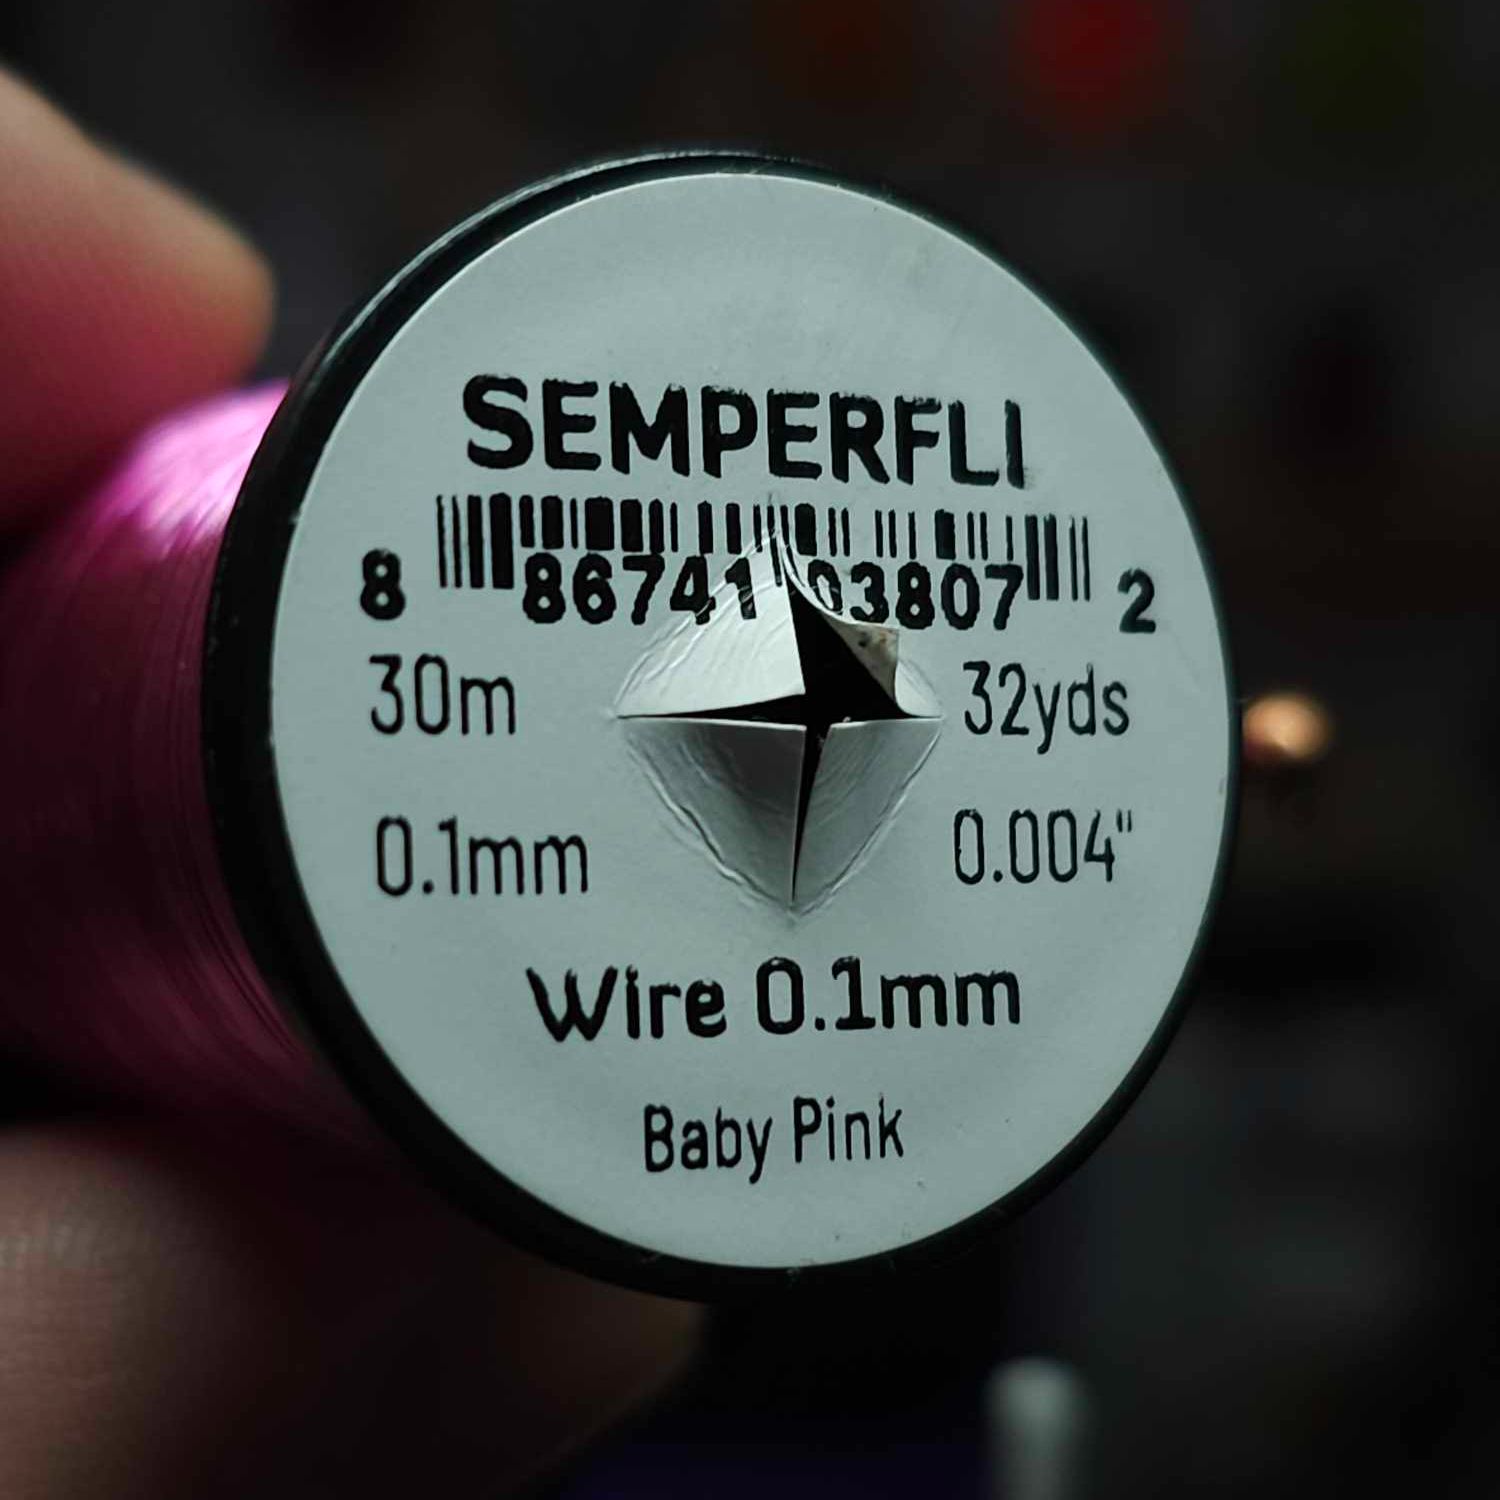
Take a length of wire. If you’re wanting a heavier fly why not try a 0.2 or 0.3mm wire!
Step 7
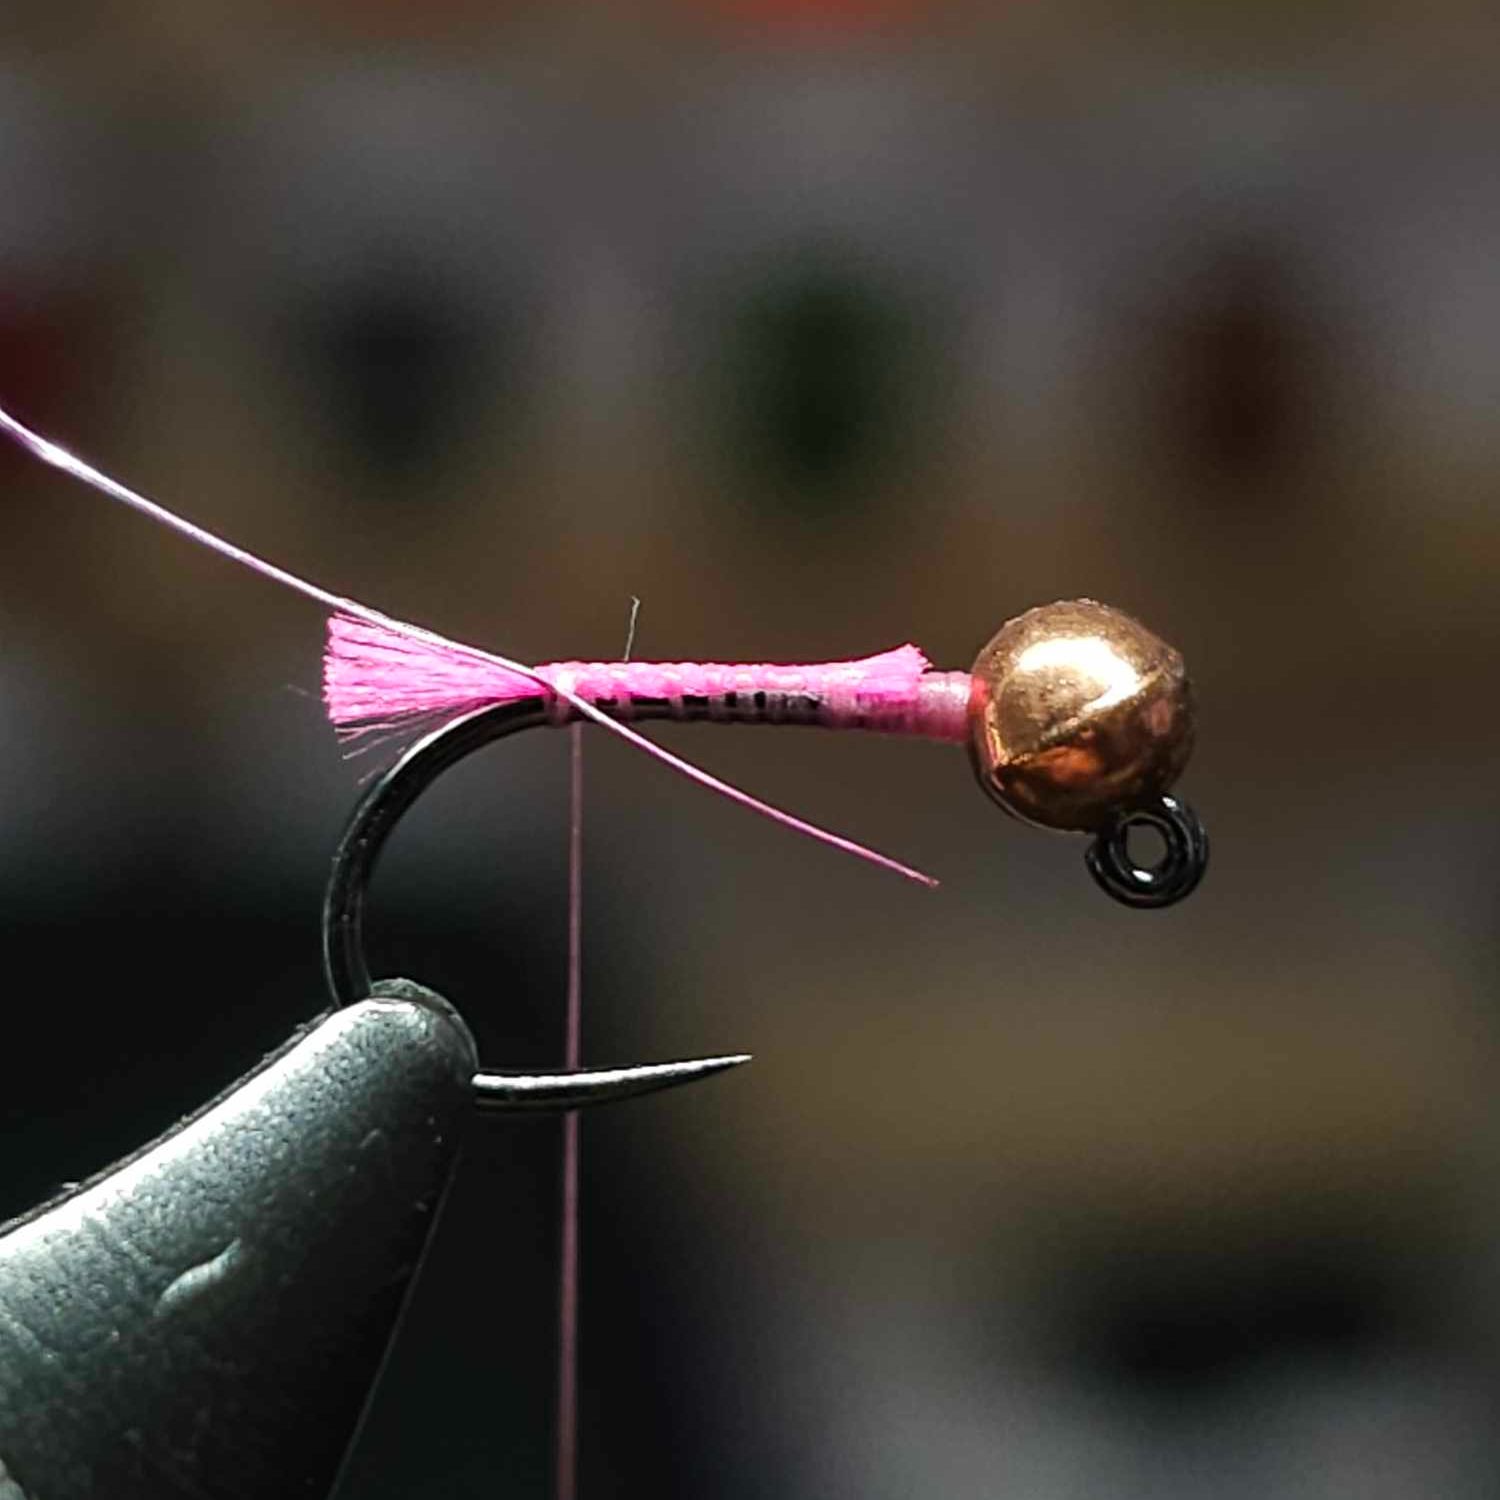
Secure the wire in place.
Step 8
Create a dubbing noodle with a pinch of Light Dun or Gray Superfine Dubbing. Hares Ear dubbing also works well here!
Step 9
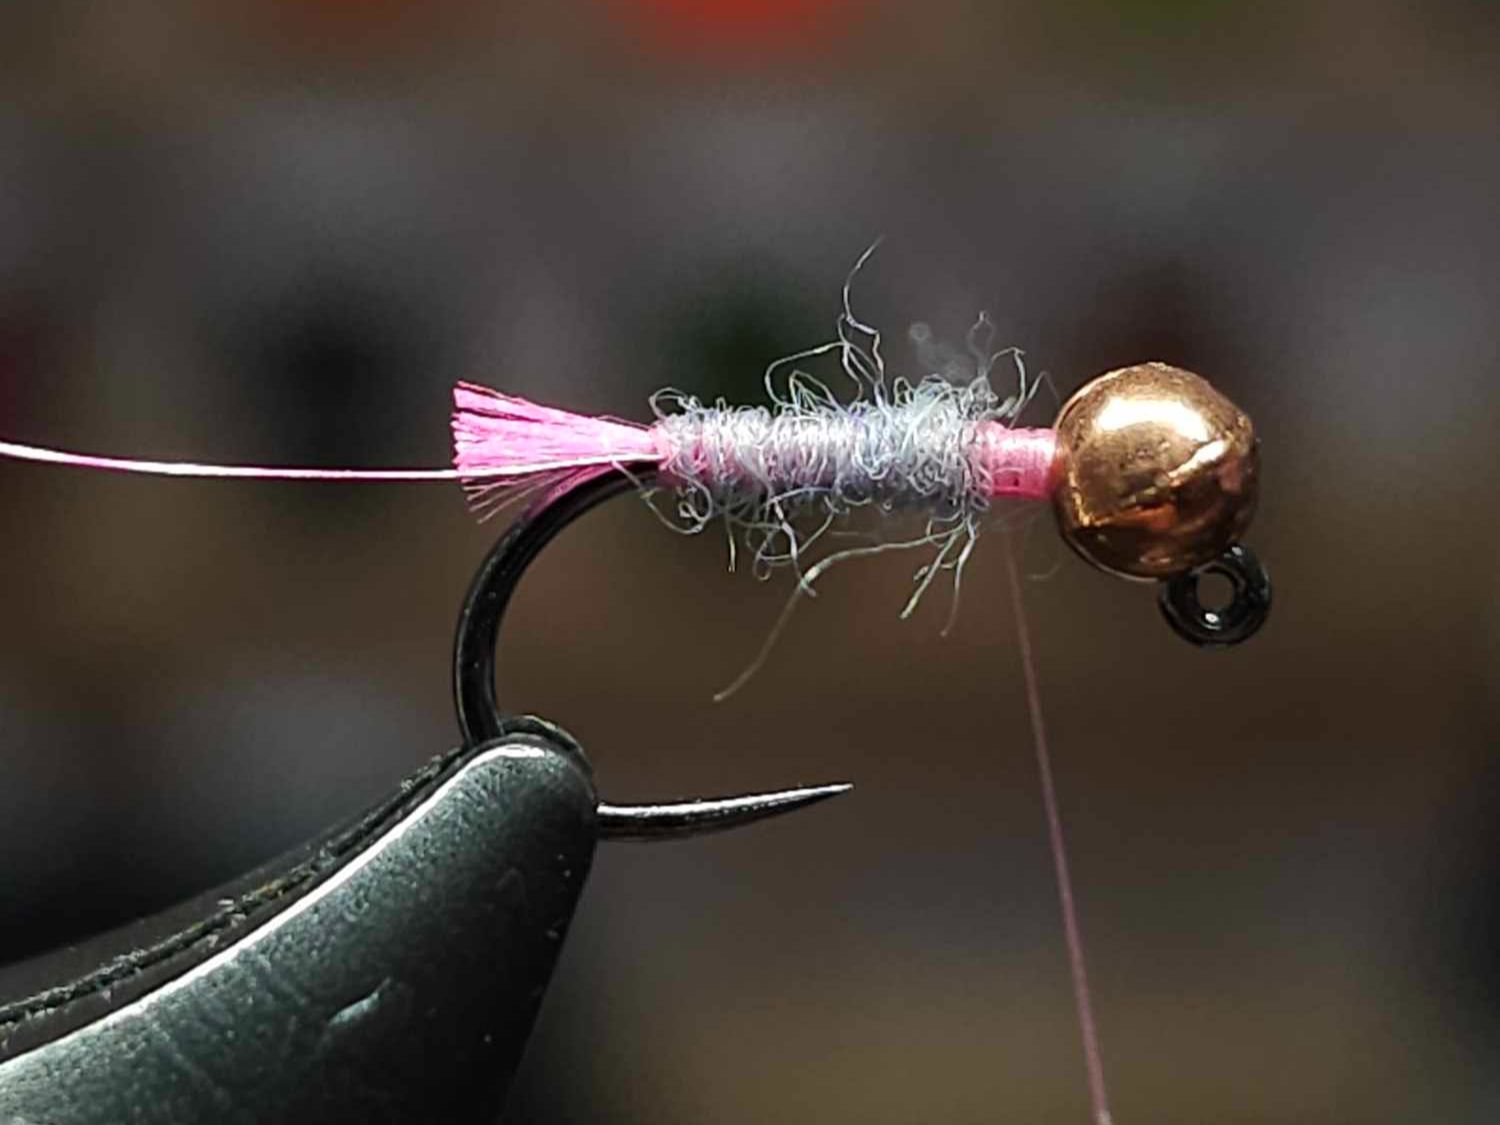
Dub all the way up to just behind the bead, making sure you leave enough room for the hackle.
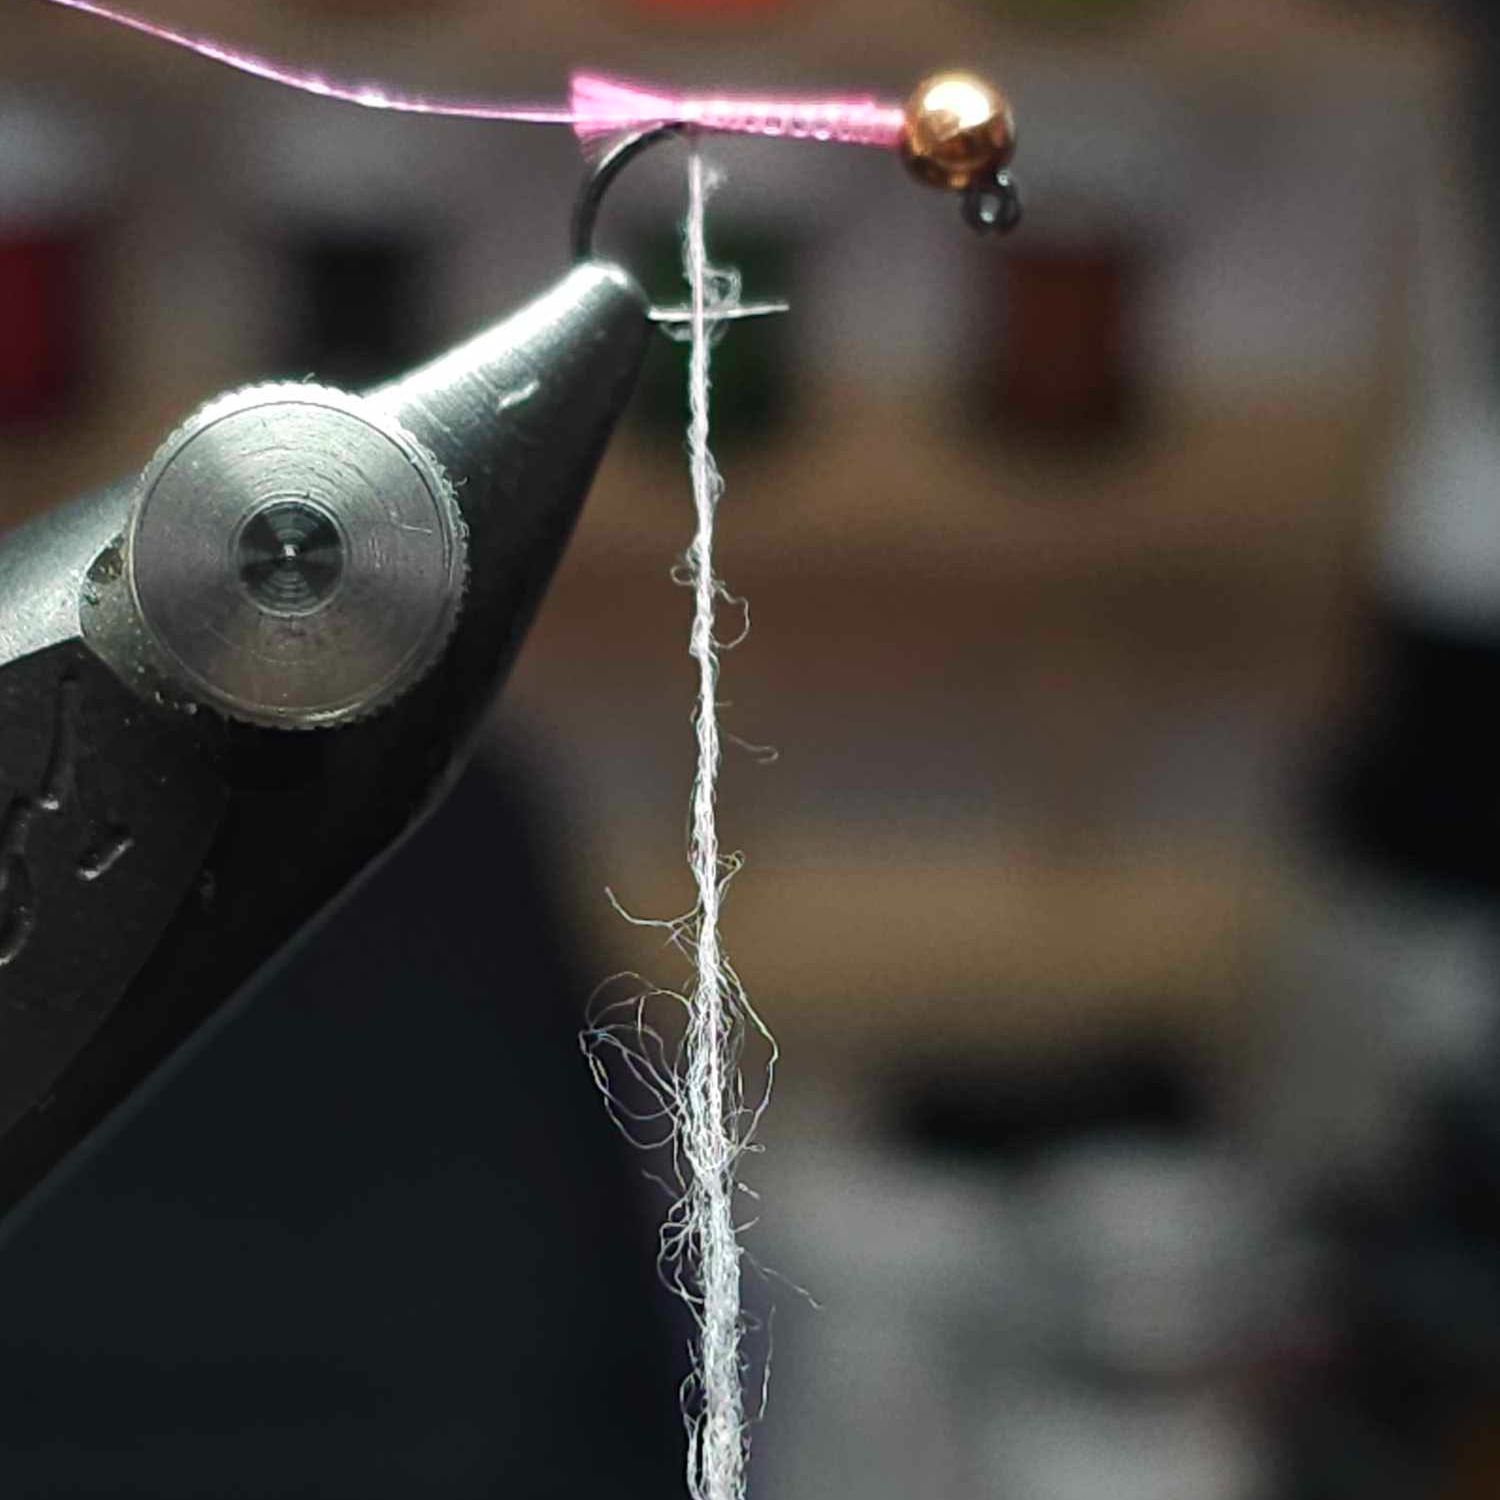
Step 10
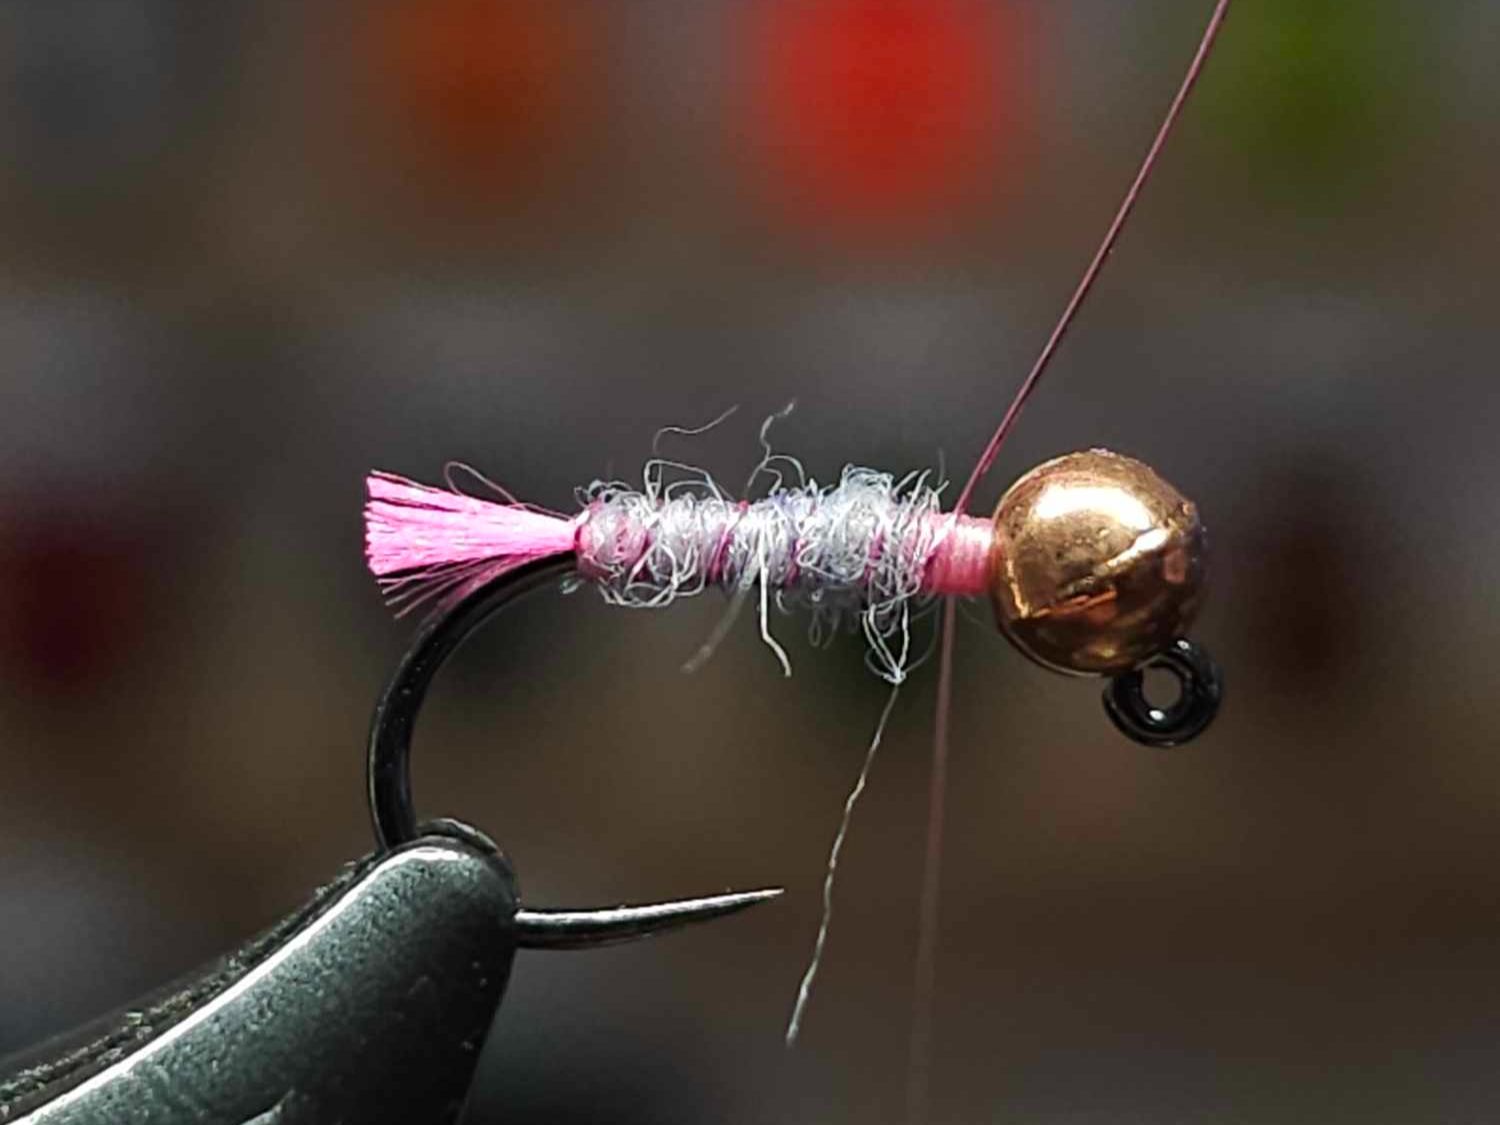
Bring the wire up the body in open even turns. Catch off and wiggle to break free, never use scissors to cut wire!
Step 11
Catch in the CDC feather at the tip, secure in place with a couple of thread turns behind and in front.
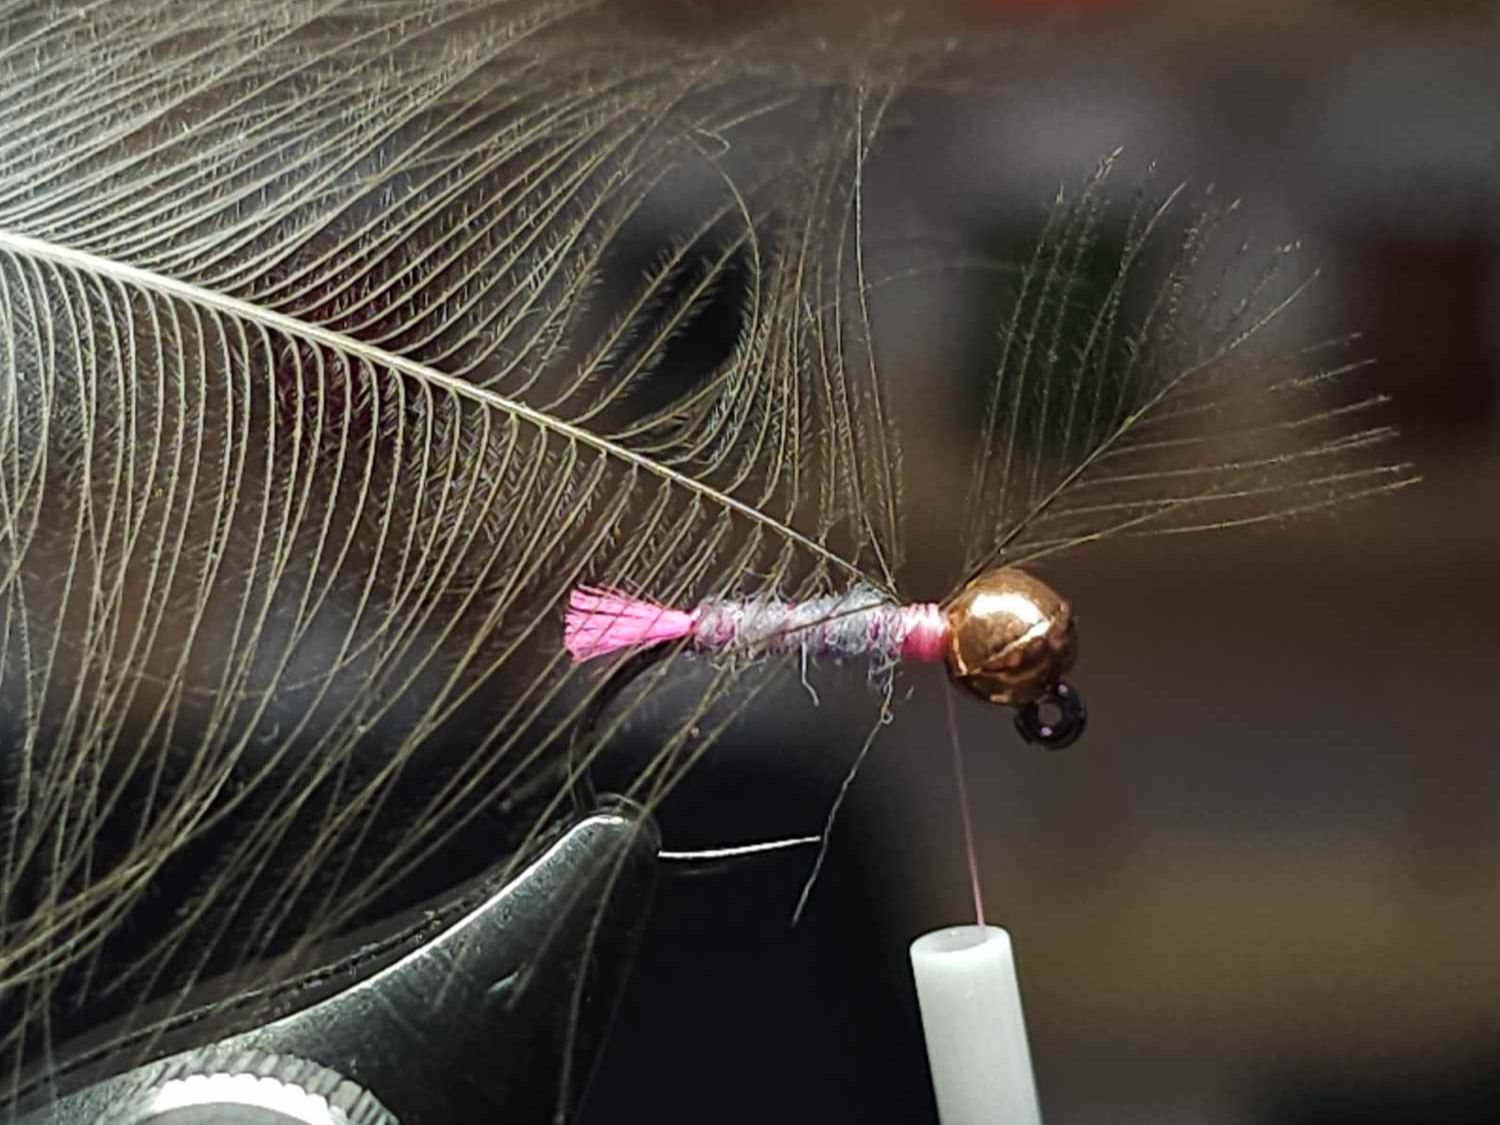
Step 12
Take the butt end of the thread and begin winding round. On each turn with your thumb and index finger, draw the fibres of the feather back.
Step 13
Catch off take a few turns of thread to secure in place.
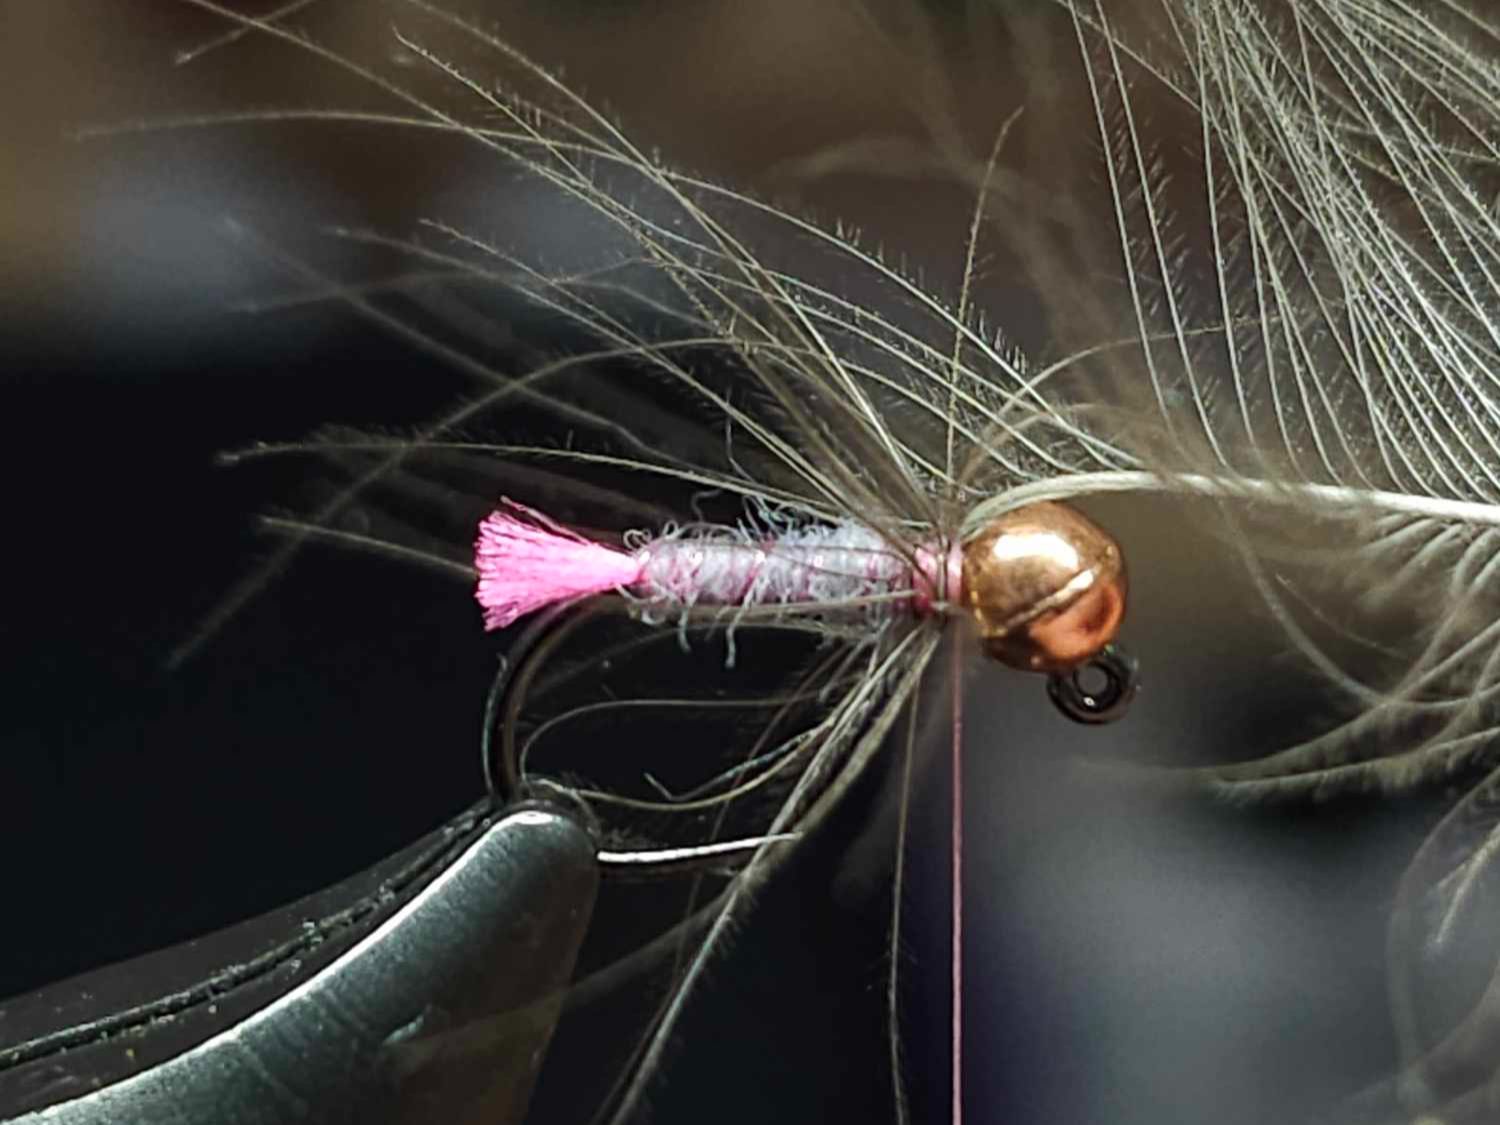
Step 14
Grab a pinch of Ice Dubbing. Here you can play around with the colour however I find black works extremely well!
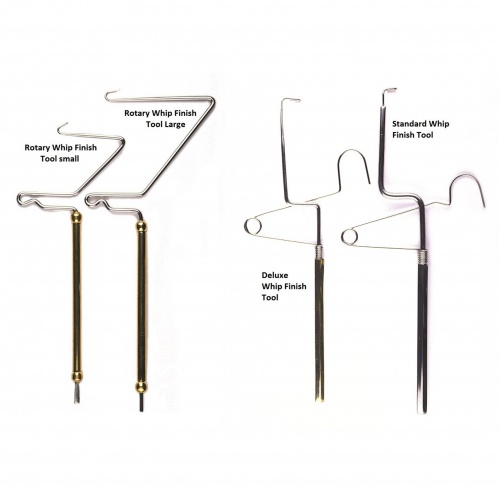
Step 15
Whip finish and add a dab of varnish to secure the whole fly!
I tend to fish this fly on the dropper above a heavier fly when nymphing for grayling. We would love to see your flies tied with this step by step! Send them in so we can see! Shop All Fly Tying Materials Here!